Windows
On Windows you can connect Outlook using ActiveSync. You can synchronize:
Files
Outlook Calendar
Outlook Contacts
Outlook E-mail
Outlook / Windows 10
Note: This guide describes Outlook but this kind of ActiveSync account also works for the Windows 10 Mail, People and Calendar app.
To setup an ActiveSync account take the following steps:
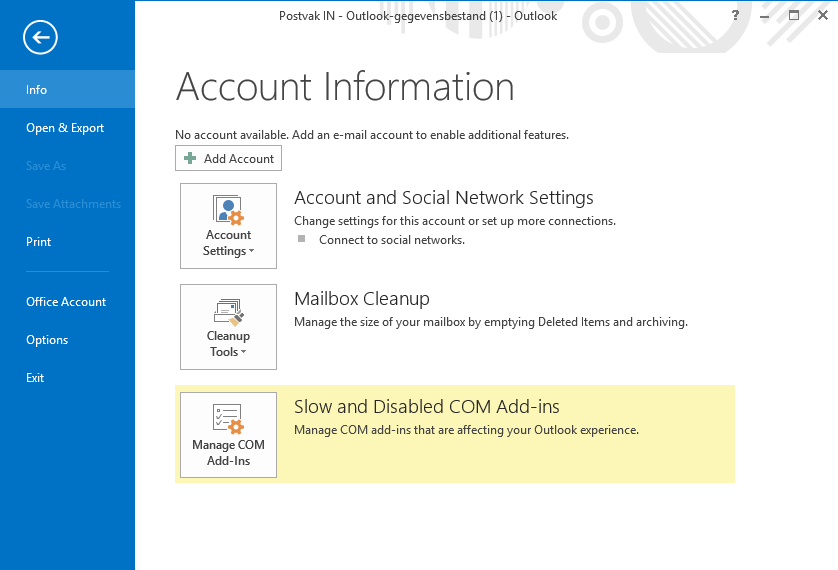
Open Outlook and click “File”.
Then click “Add account”.
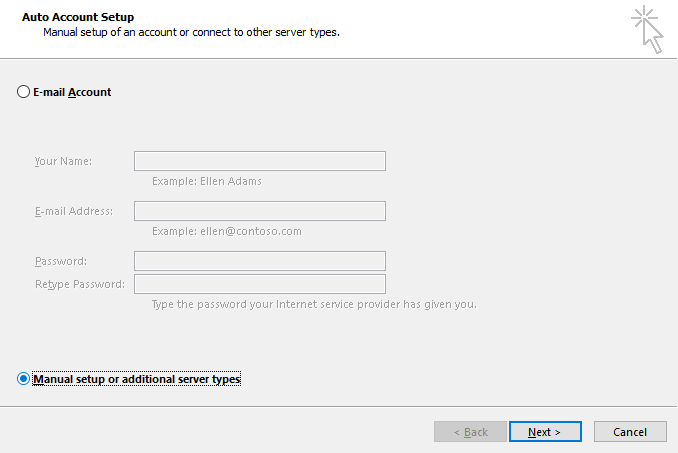
Select “Manual setup” and click “Next”.
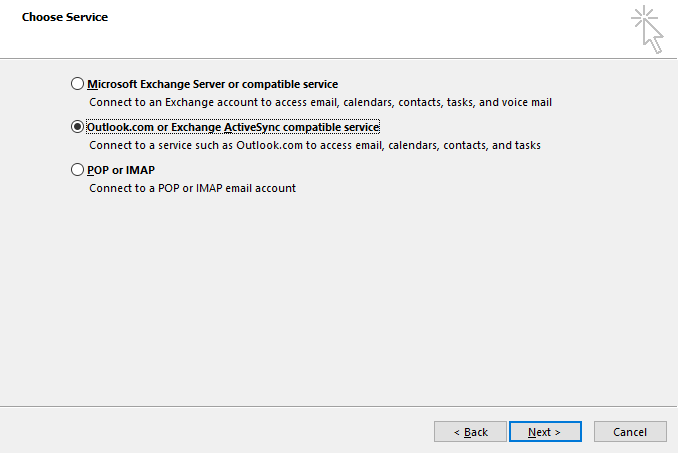
Choose “Outlook.com or Exchange ActiveSync compatible service” and click “Next”.
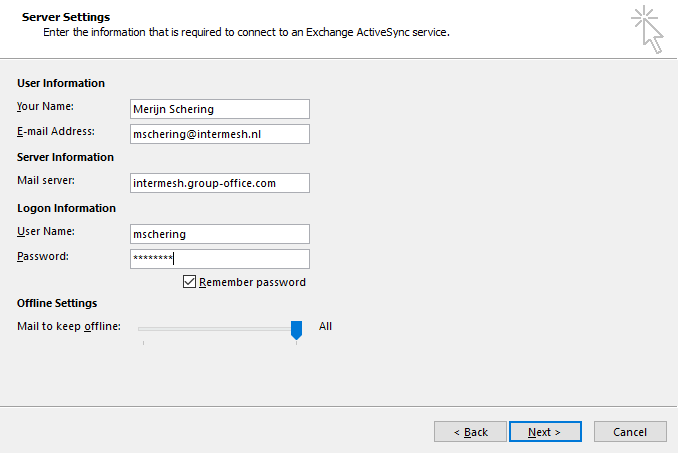
In the next screen you must adjust your server settings. It will prefill the username with the e-mail address and the server name with the domain from your e-mail address. This is most likely incorrect. Please adjust to your Group-Office username and enter the Server hostname. When done click “Next”.
Outlook will test your settings. If all is well you should see the following screen.
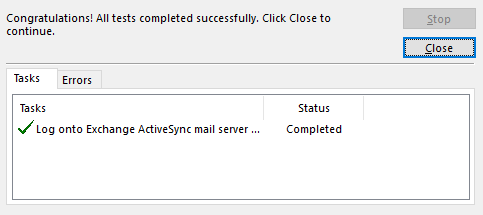
Now you must give it some time to sync everything. Then check your contacts, e-mail and calendar for your Group-Office data!
Files
The Group-Office Assistant is a small program that you can install on your Windows, MacOS or Linux computer. It will automatically download files opened from Group-Office and monitor it for changes. When the file is saved it automatically uploads it back to Group-Office.
Click here for a video of the installation proces
Click here to download Group-Office Assistant for Windows.
After installing it you can use it as follows:
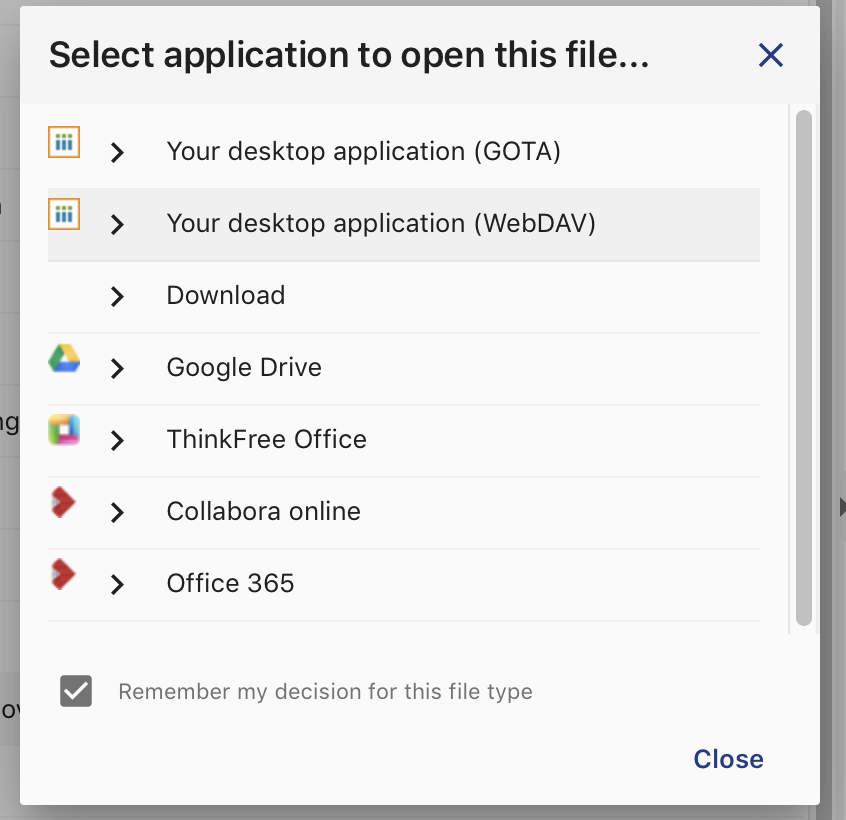
In Group-Office right click on a file and choose “Open with”.
Select the “Your desktop application” option to use the assistant.
Note
If the Assistant doesn’t start you might need to install the Microsoft Visual Studio Runtime library: https://support.microsoft.com/en-us/help/2977003/the-latest-supported-visual-c-downloads
Note
For Chrome users. You might be annoyed by the popup dialog everytime you open a file. Here’s a solution for that: https://superuser.com/questions/1481851/disable-chrome-to-ask-for-confirmation-to-open-external-application-everytime
Automated install
For advanced options for installing please look at this page:
WebDAV
Additionally you can map Group-Office as network drive using WebDAV. The assistant makes this easy for you after editing a file. Then you can right click the icon and choose “Connect network drive”.
WebDAV client issues
Unfortunately there are some known issues with the native Windows WebDAV implementation:
When opening office files you have to re-authenticate: https://support.microsoft.com/en-us/help/2019105/authentication-requests-when-you-open-office-documents
There’s a path length limit in both windows and office. So long paths will fail. The URL of your Group-Office counts as path too.
We recommend to use the assistant as it doesn’t suffer from these issues and generally works faster.