Calendar
Every user gets a personal calendar. You can schedule meetings and share calendars among users via the web interface, your mobile or desktop computer.
Calendar module
The calendar module supports:
Views
A view is a calendar with multiple calendars visible in it. Either merged in one regular view or each calendar underneath each other.
You can create views in Calendar -> Administration -> Views:

Creating a view
Chose merge if you want a regular calendar view with multiple calendars in it. You can also override the event colours by assigning a unique color per calendar.
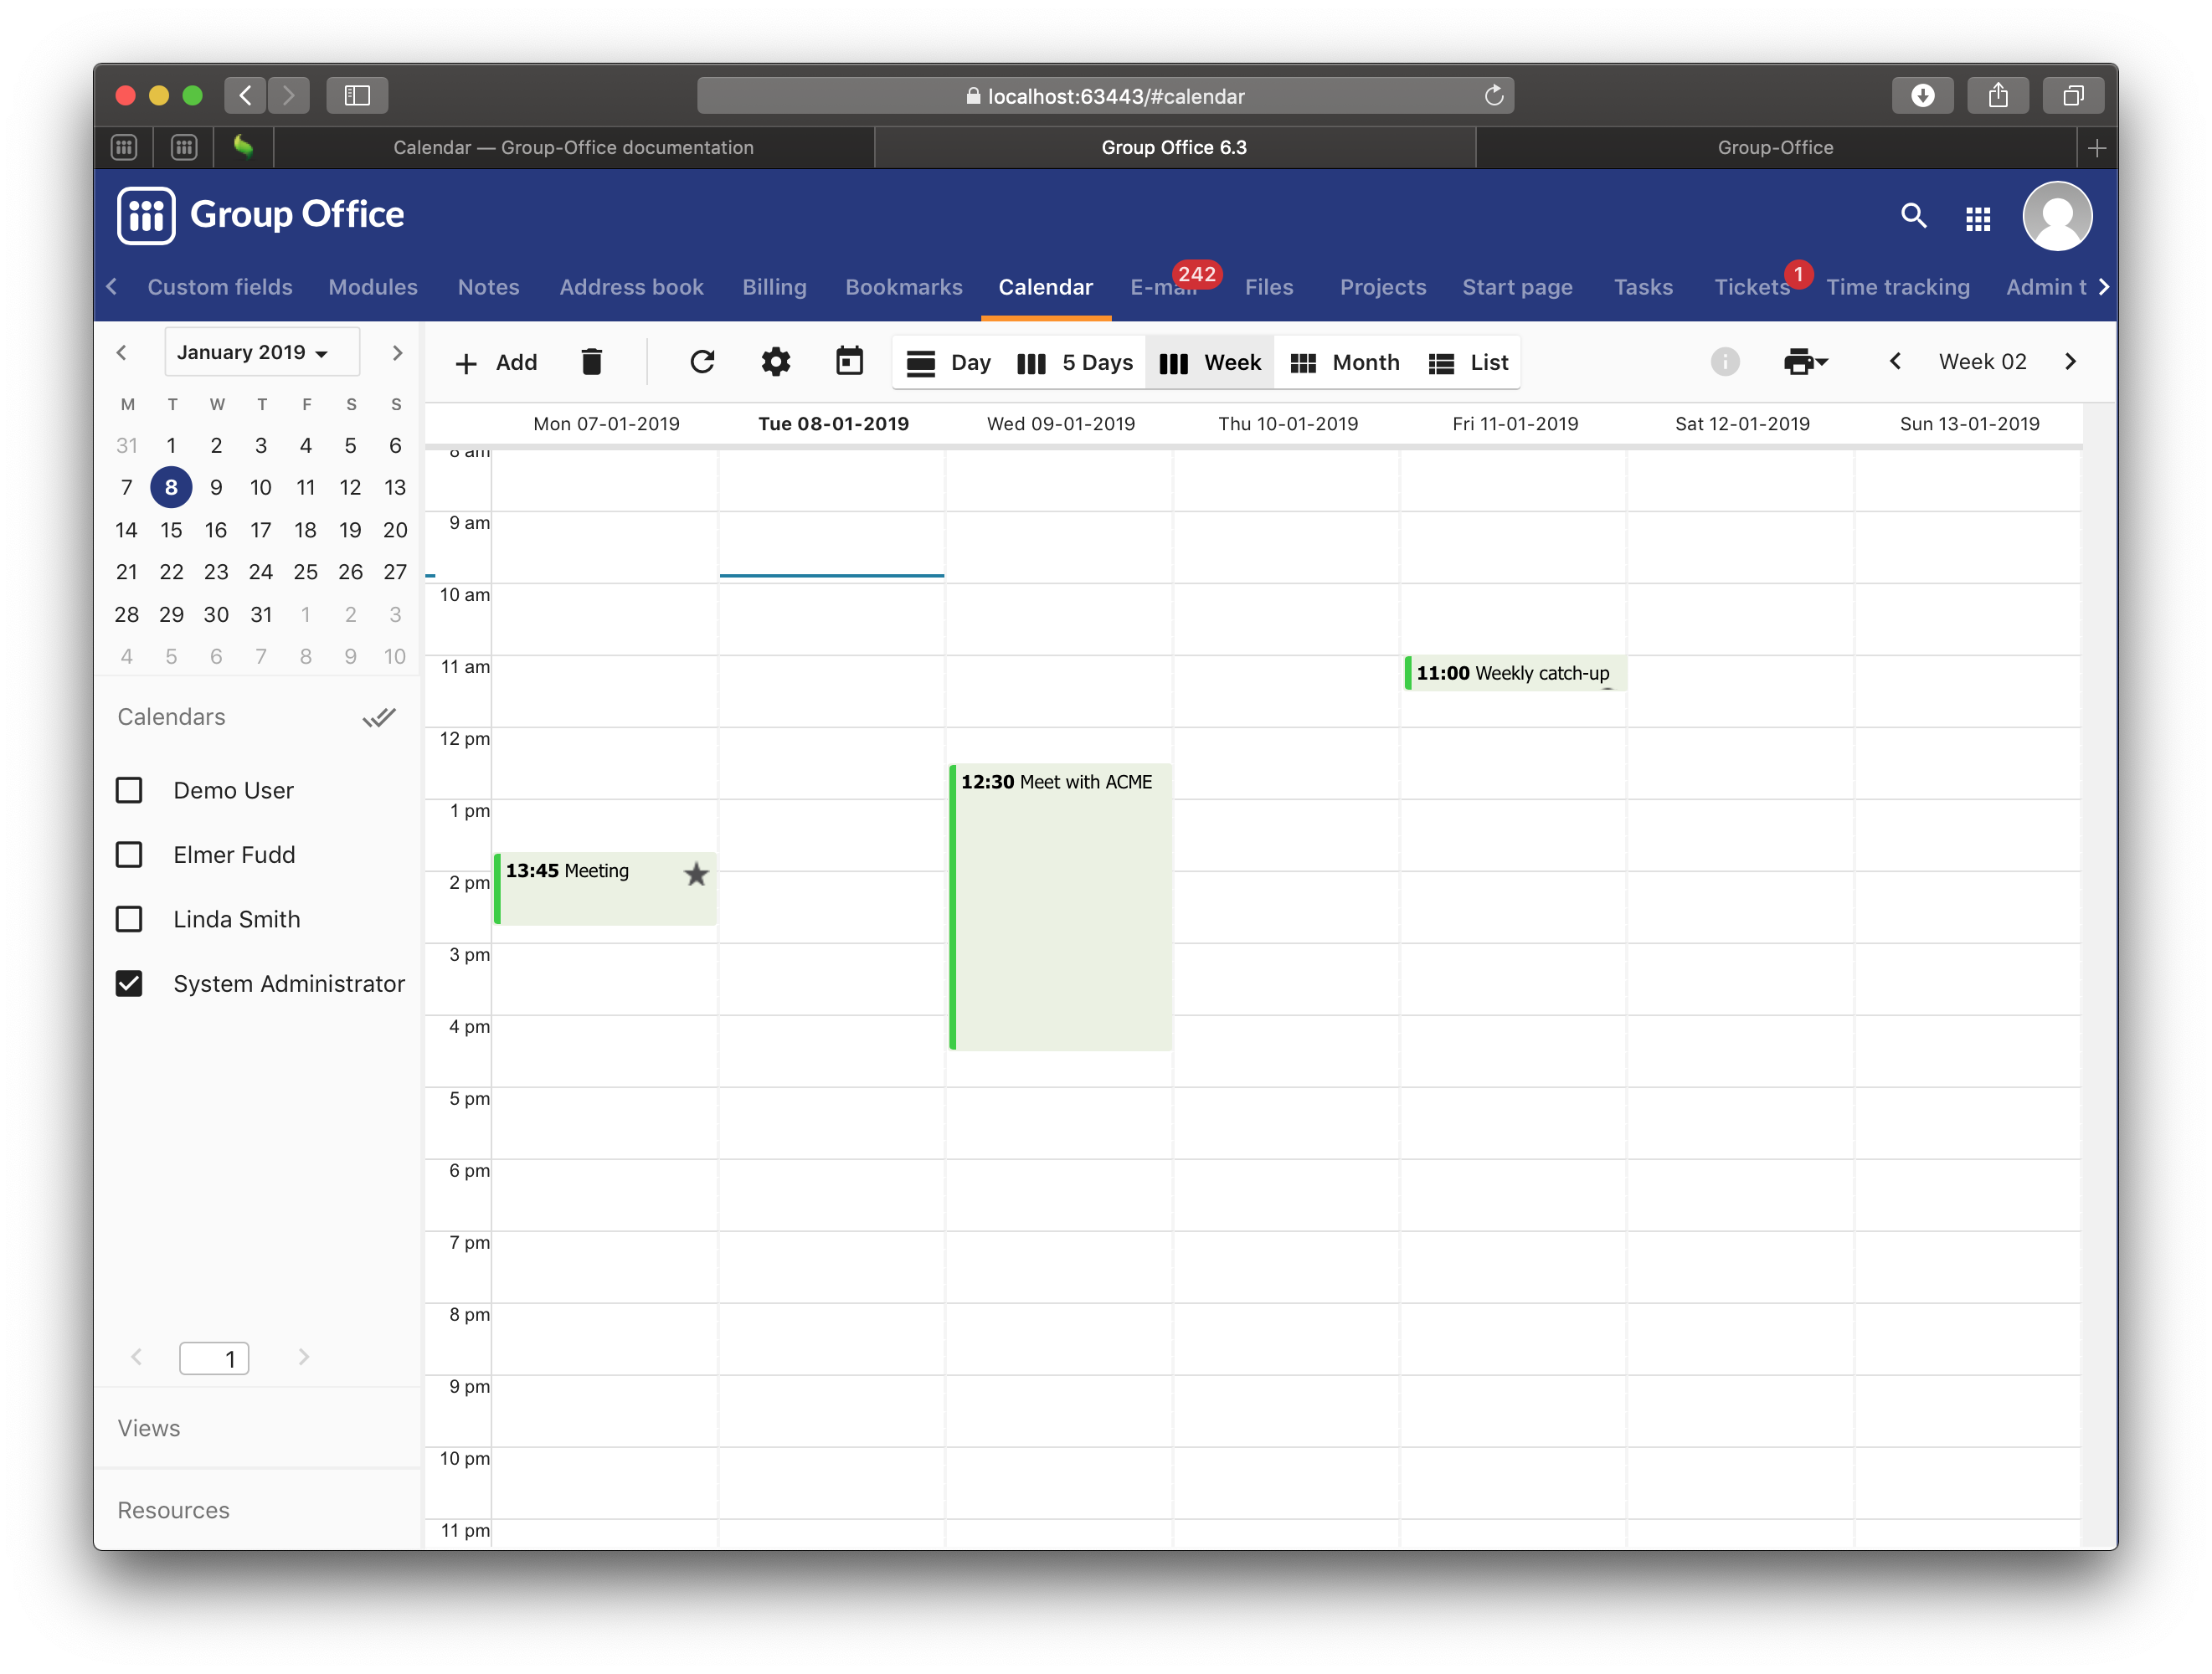
An unmerged view will put the calendars underneath eachother:
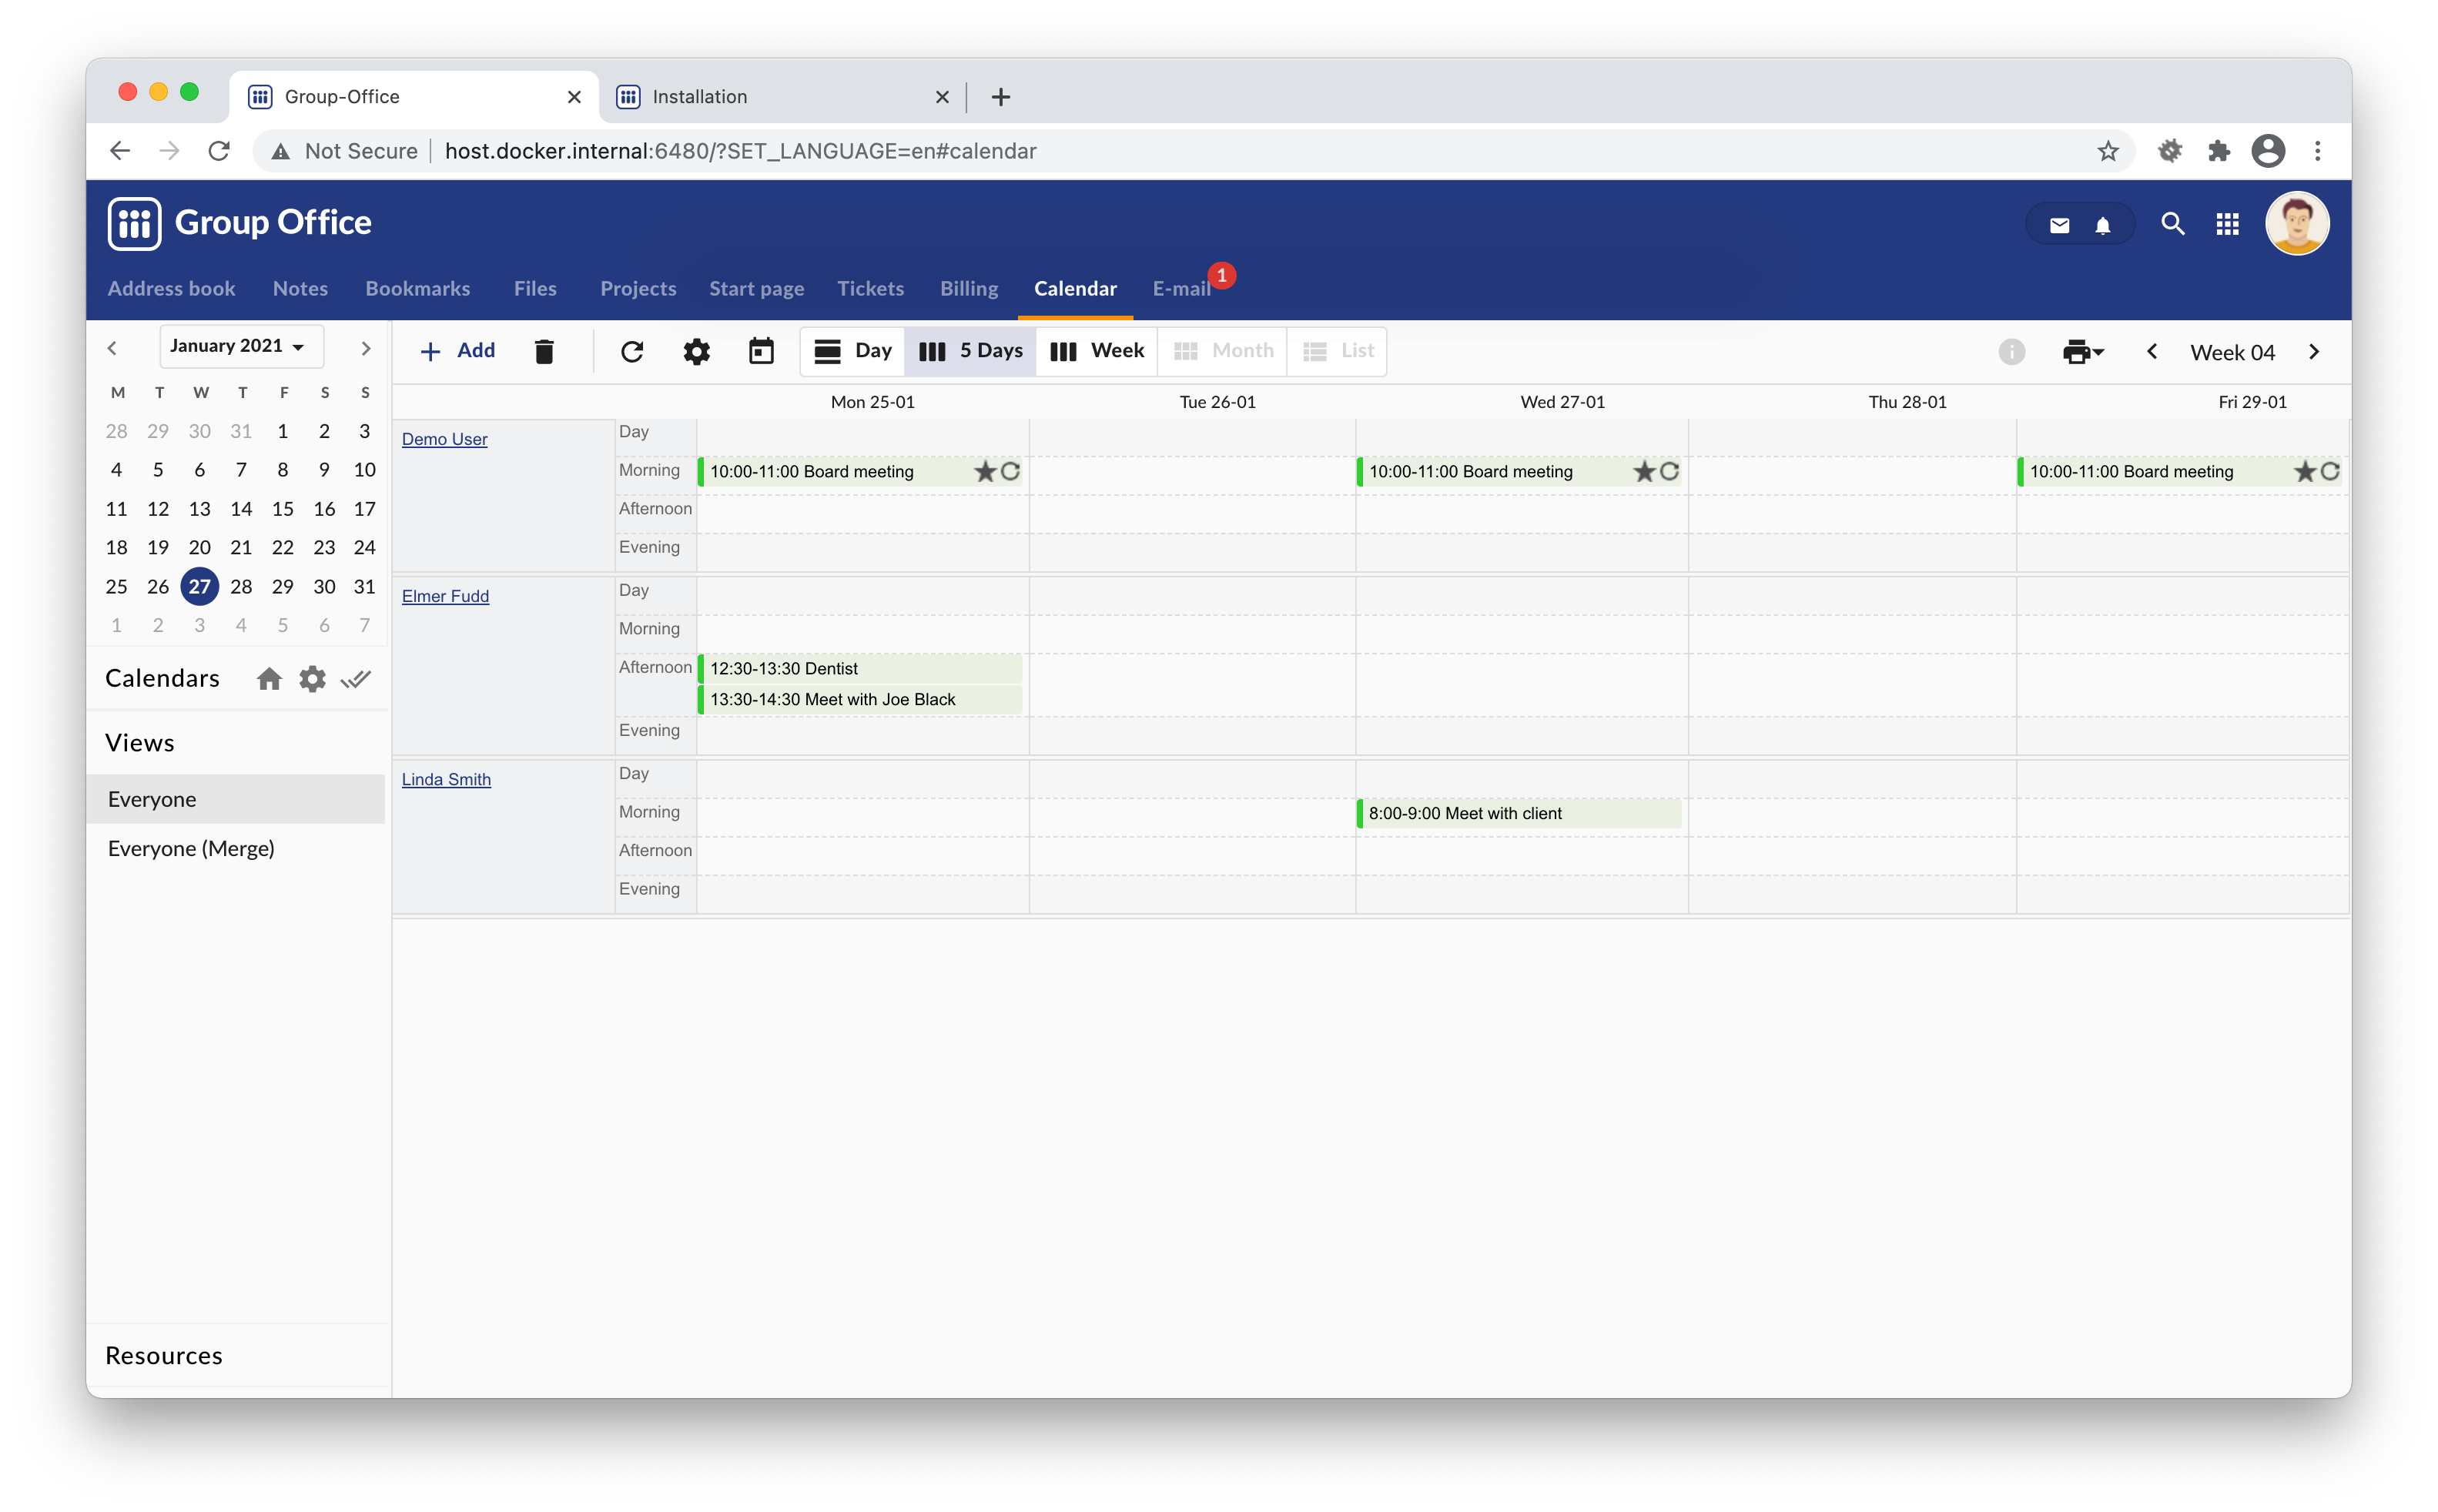
Unmerged view
Or the same view but merged and with unique colors:
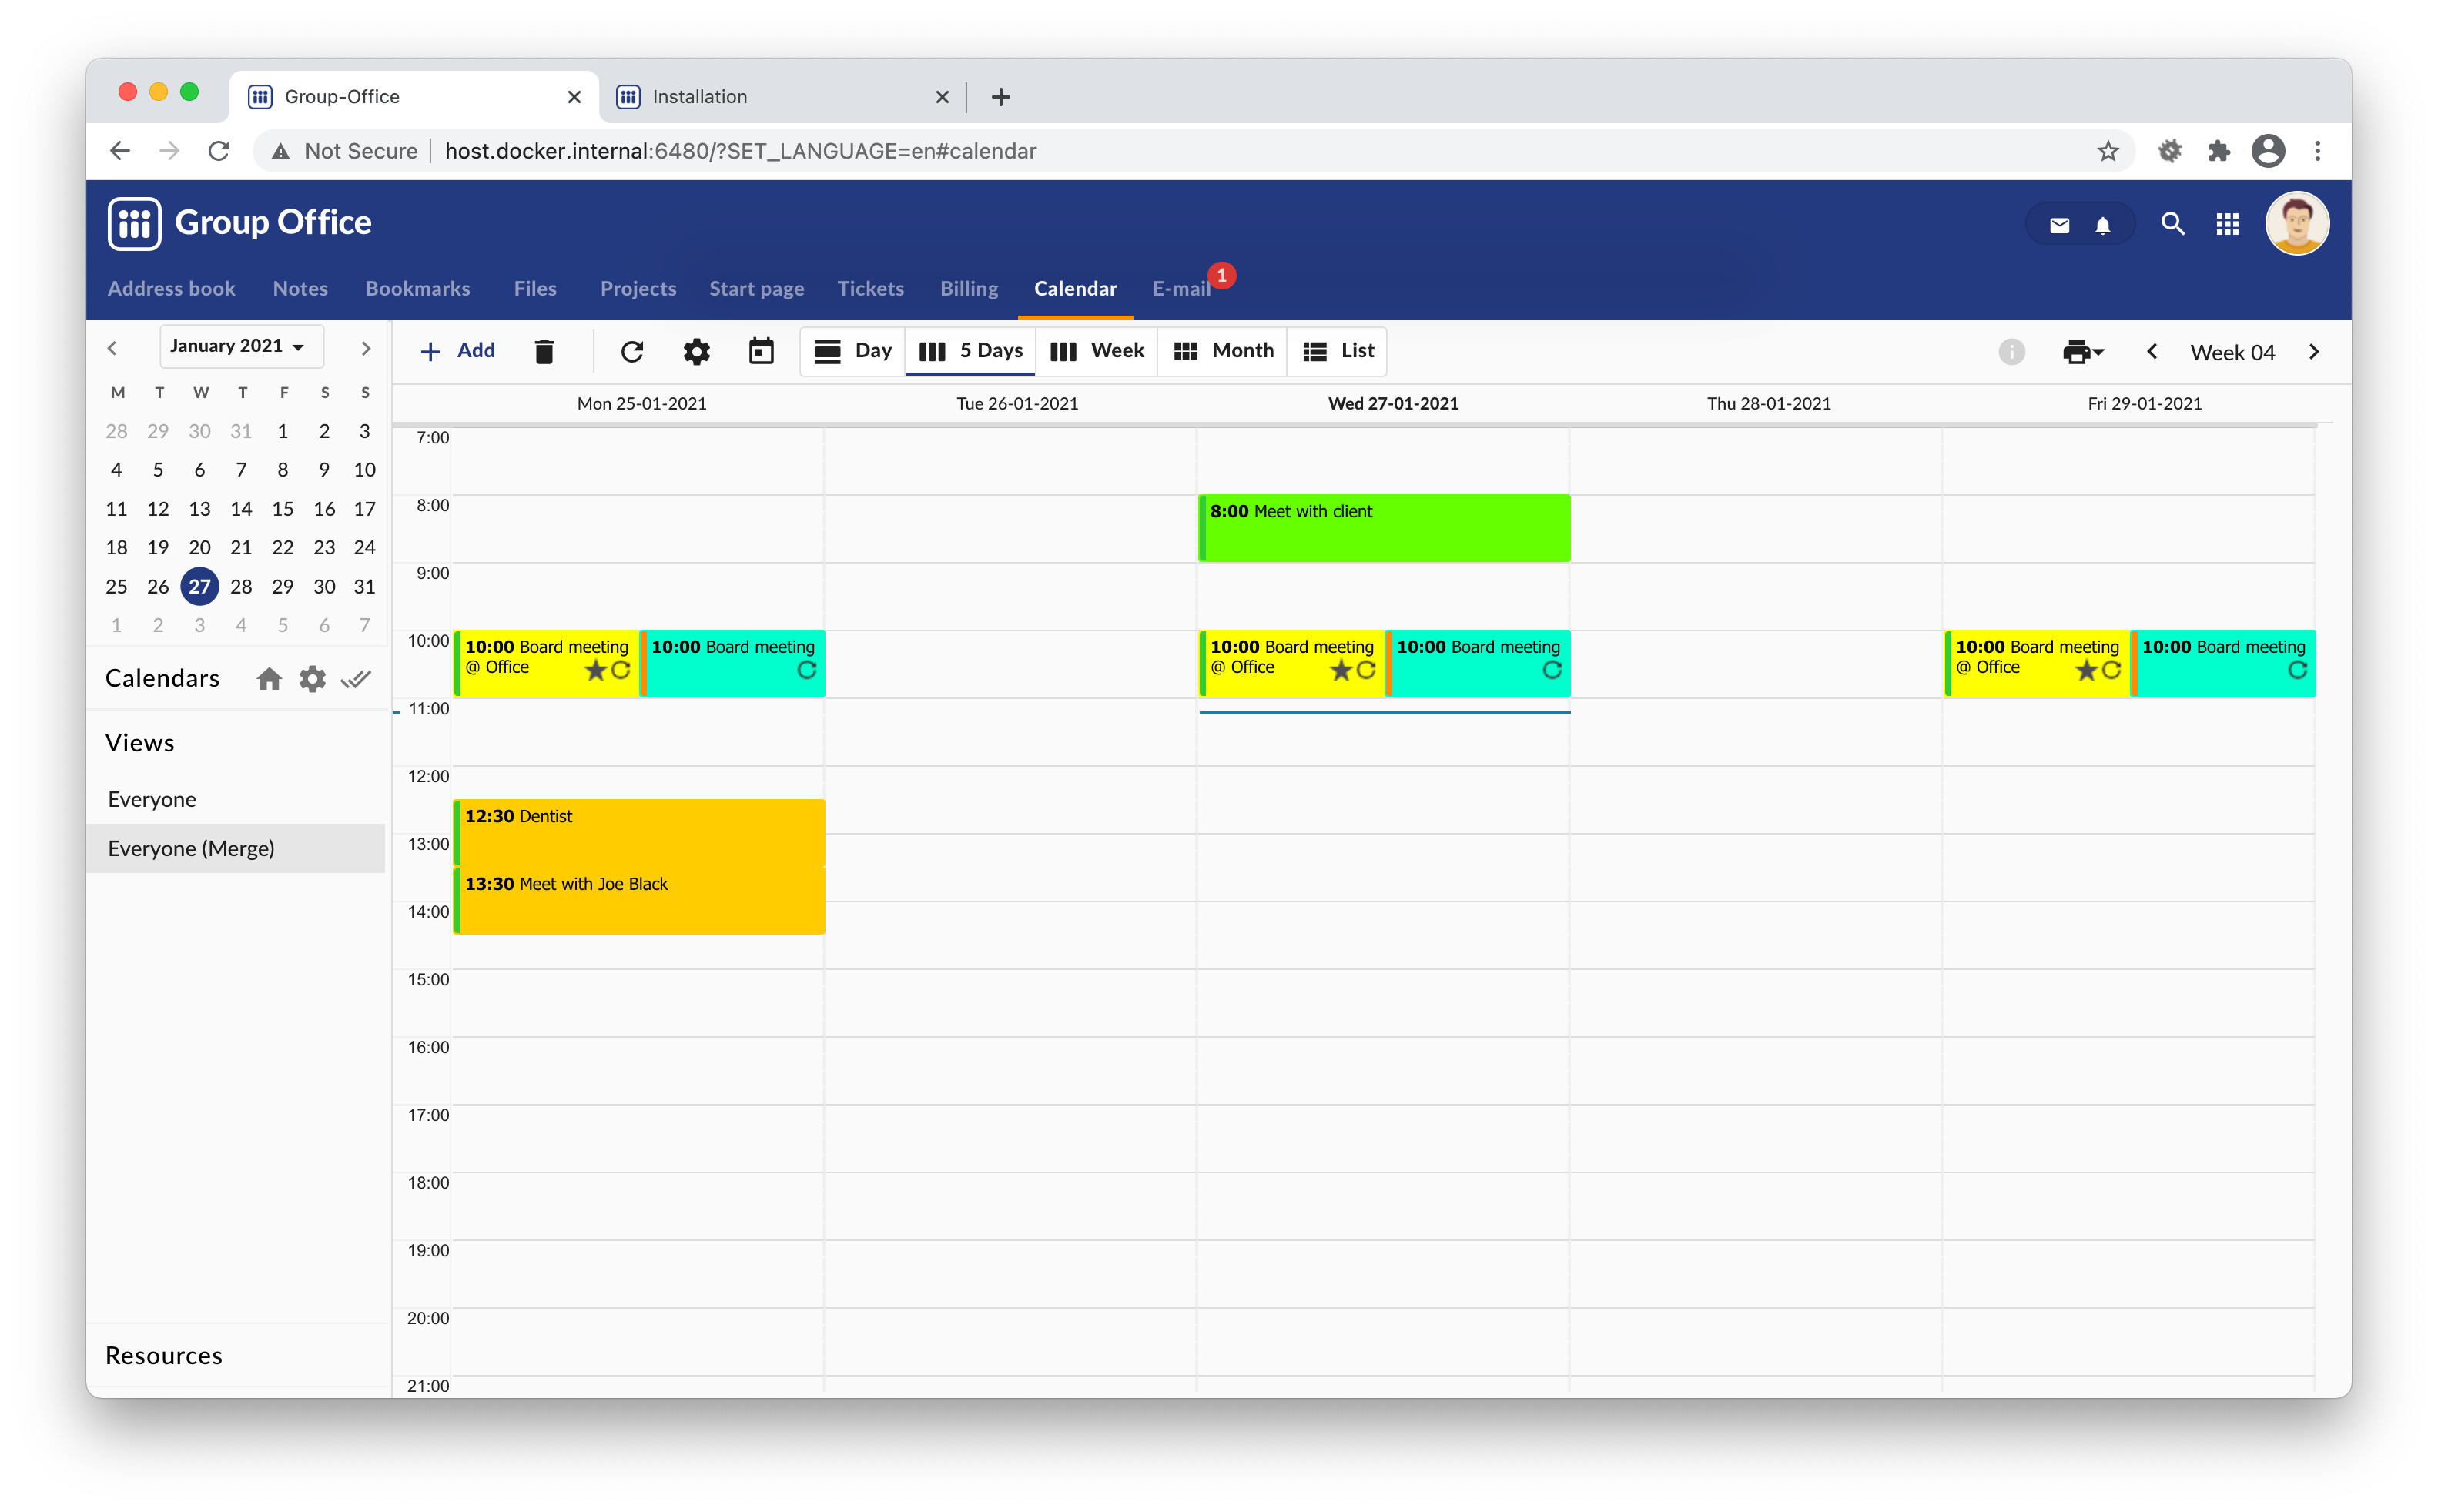
Merged view
Resources
It’s possible to create resources in Group-Office to manage meeting rooms or company cars for example. The resources are organized in groups and have can have administrators per group. Administrators must check and approve resource bookings. The resources are part of the calendar module and also work together with custom fields.
For resource administration this option you need manage permissions for the calendar module.
Creating groups
Groups are useful to organize resources. You could have the following groups for example:
Meeting rooms
Cars
Books
etc.
To open the resource group management go to:
Calendar -> Administration -> Resource groups -> Add
Enter a name for the group and click at “Apply”. You can also select the custom field sets you want to use with this type of resource. For meeting rooms you might want to create a field set with a check box for lunch, a beamer or a text field for the number of persons.
After hitting apply the “Administrators” tab is enabled. It’s required to add at least one administrator to the group. A group administrator must check and approve a booking.
Note
Permissions for administrators
Administrators will automatically be granted write permissions for the resources in this group when you add them. Permissions will NOT be automatically removed because this might lead to unwanted deletion of permissions.
Creating resources
After you setup a resource group you can add resources. Go to:
Calendar -> Administration -> Recources -> Add
Enter a name and click on “Apply”. The permissions tab is now enabled.
..note:: Permissions
Give users that need to book this resource read permissions. They don’t need write permissions. If you give them write permissions they will be able to accept their own bookings and that’s probably not what you want.
After at least one resource is created the “Resources” panel in the calendar navigation on the left is available. New bookings are shown in red, accepted bookings turn green:
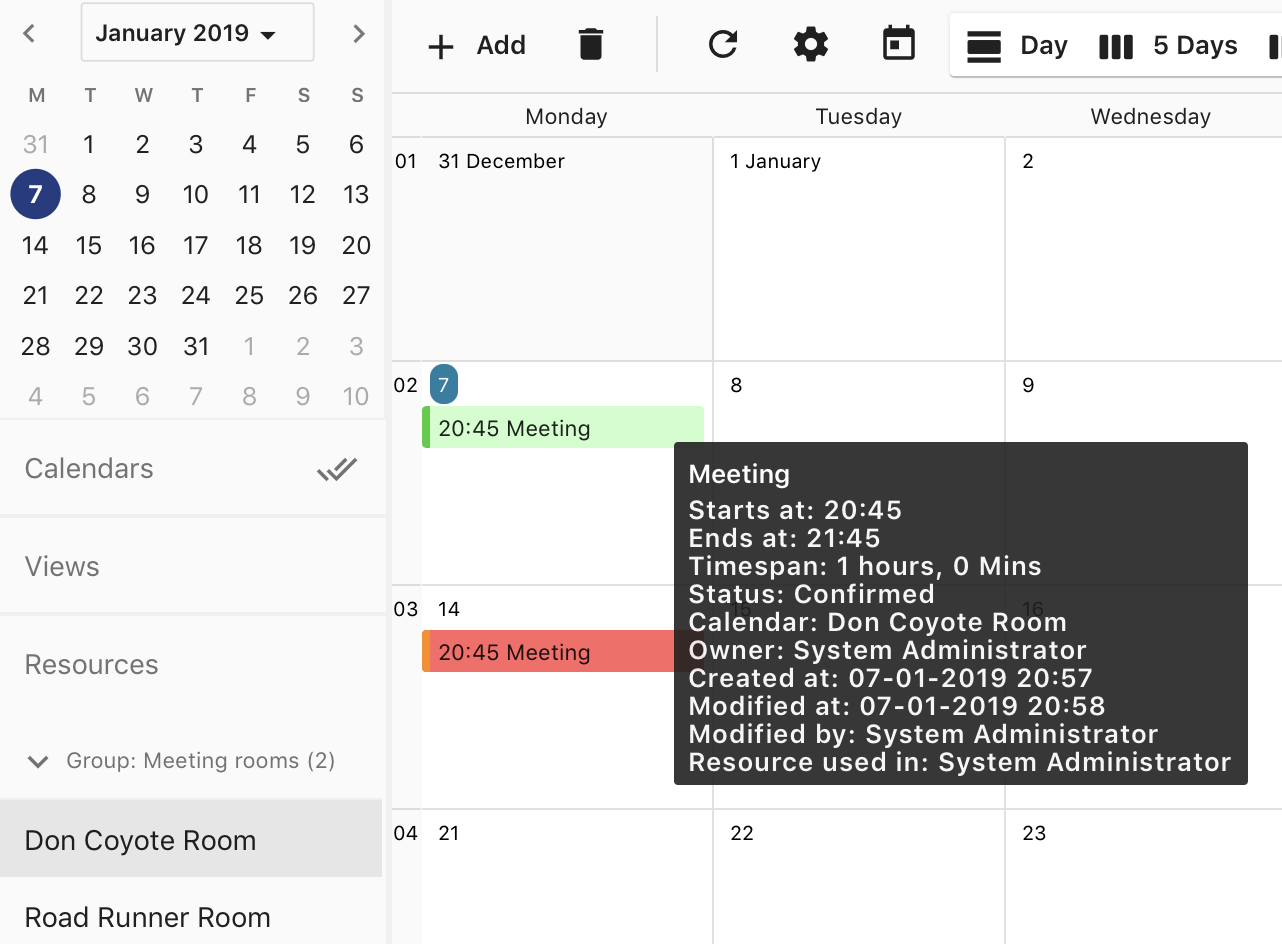
Resources
Booking a resource
When you have access to a resource you can book them from the new event dialog in the calendar. Go to:
Calendar -> Add -> Resources.
Select the resource(s) you want to use with your event (The lunch, beamer and persons input fields are custom fields in this example):
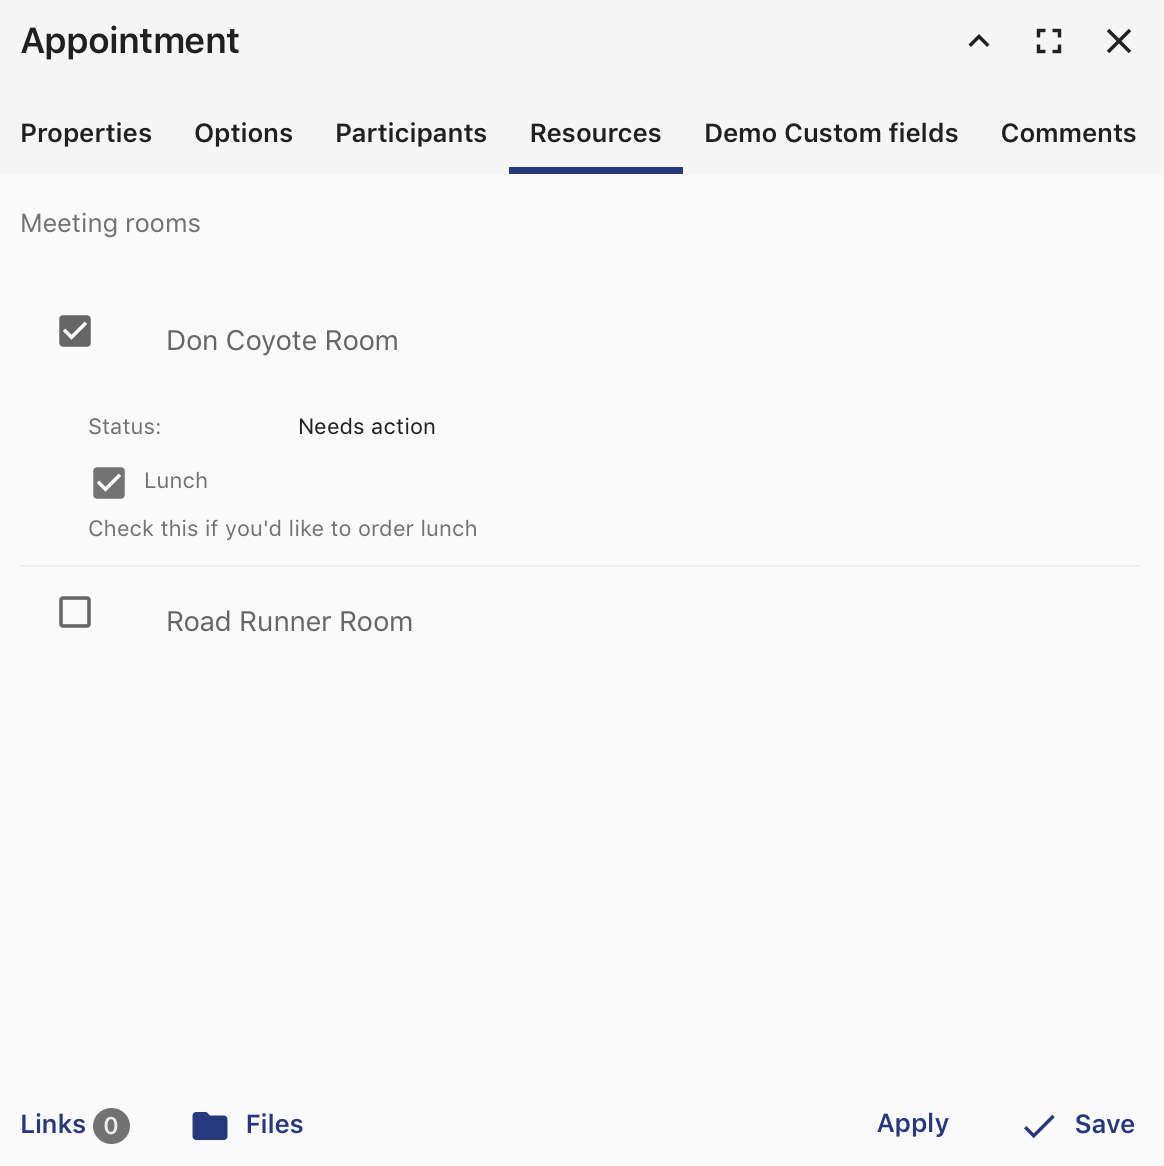
Booking a resource
The event in the users’ calendar shows up with a star:
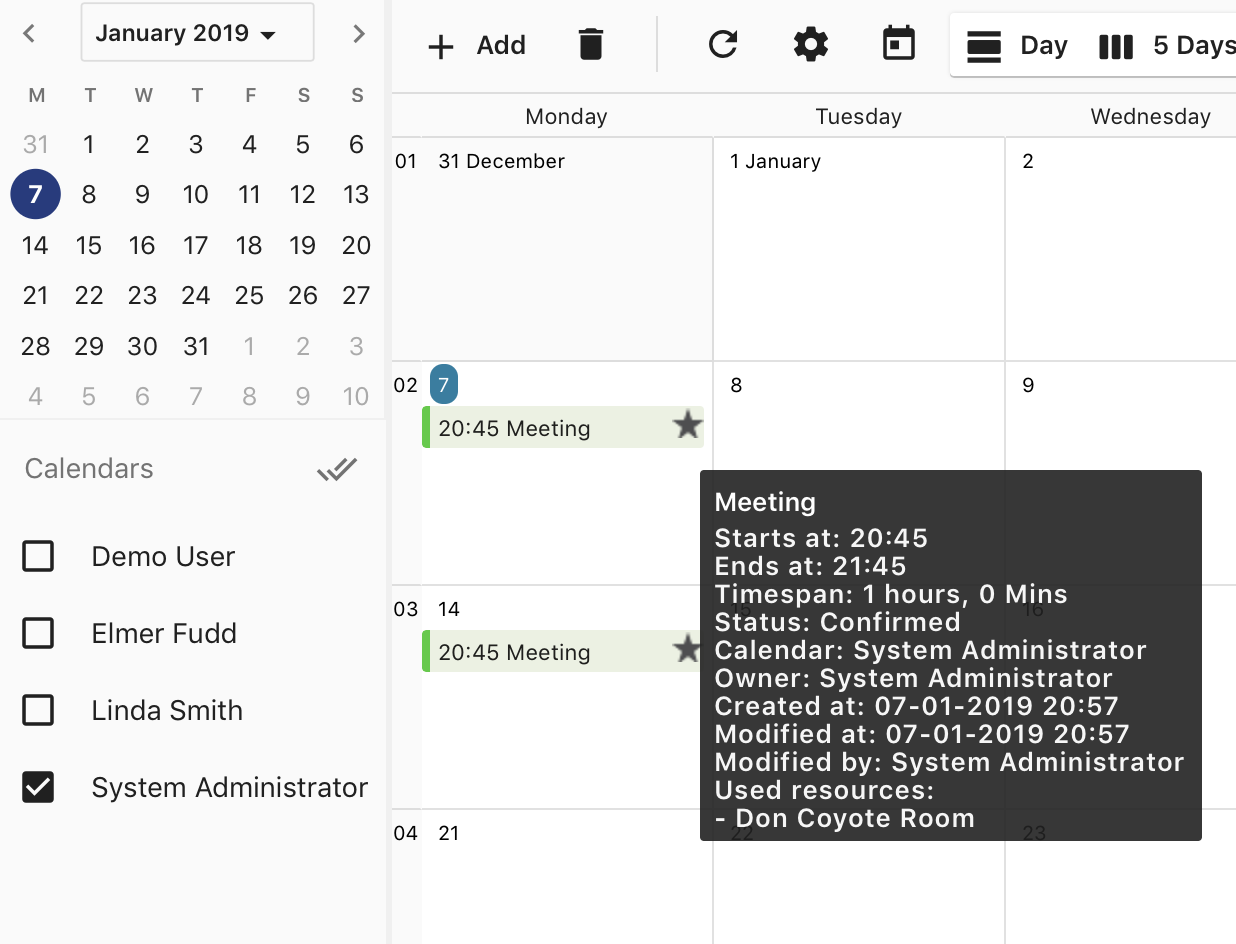
Event with resource
When the event is saved an e-mail goes out to all administrators so they can accept or decline it.
The administrator must approve the booking unless you are an administrator yourself.
Accepting or declining a booking
When you are a resource administrator and you get an e-mail like displayed above, you can click on the link to open the booking or you can browse to:
Calendar -> Resources -> The resource
You can change the status to “Accepted” or “Declined” in the dialog. After saving it an e-mail will go out to the user.
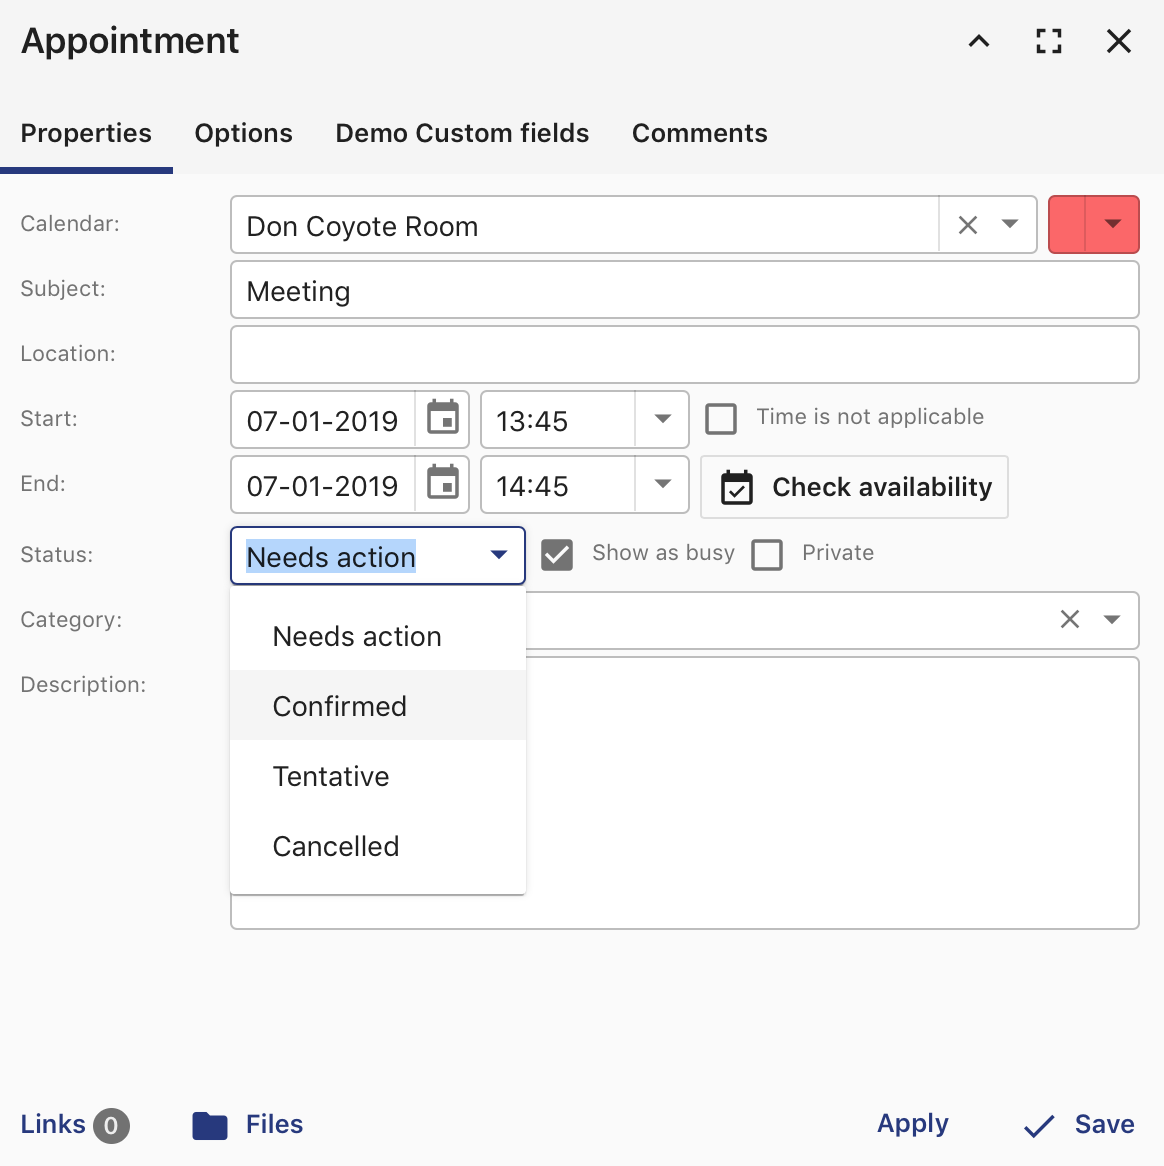
Confirming a resource
Purging old appointments
To remove old appointments before a certain date you can run this command on the command line:
./groupofficecli.php -c=/etc/groupoffice/config.php -r=calendar/event/deleteOld --date="2015-01-01" -u=admin