Android
On Android you can connect using ActiveSync. You can synchronize:
Calendar
Contacts
E-mail
To setup an ActiveSync account take the following steps:
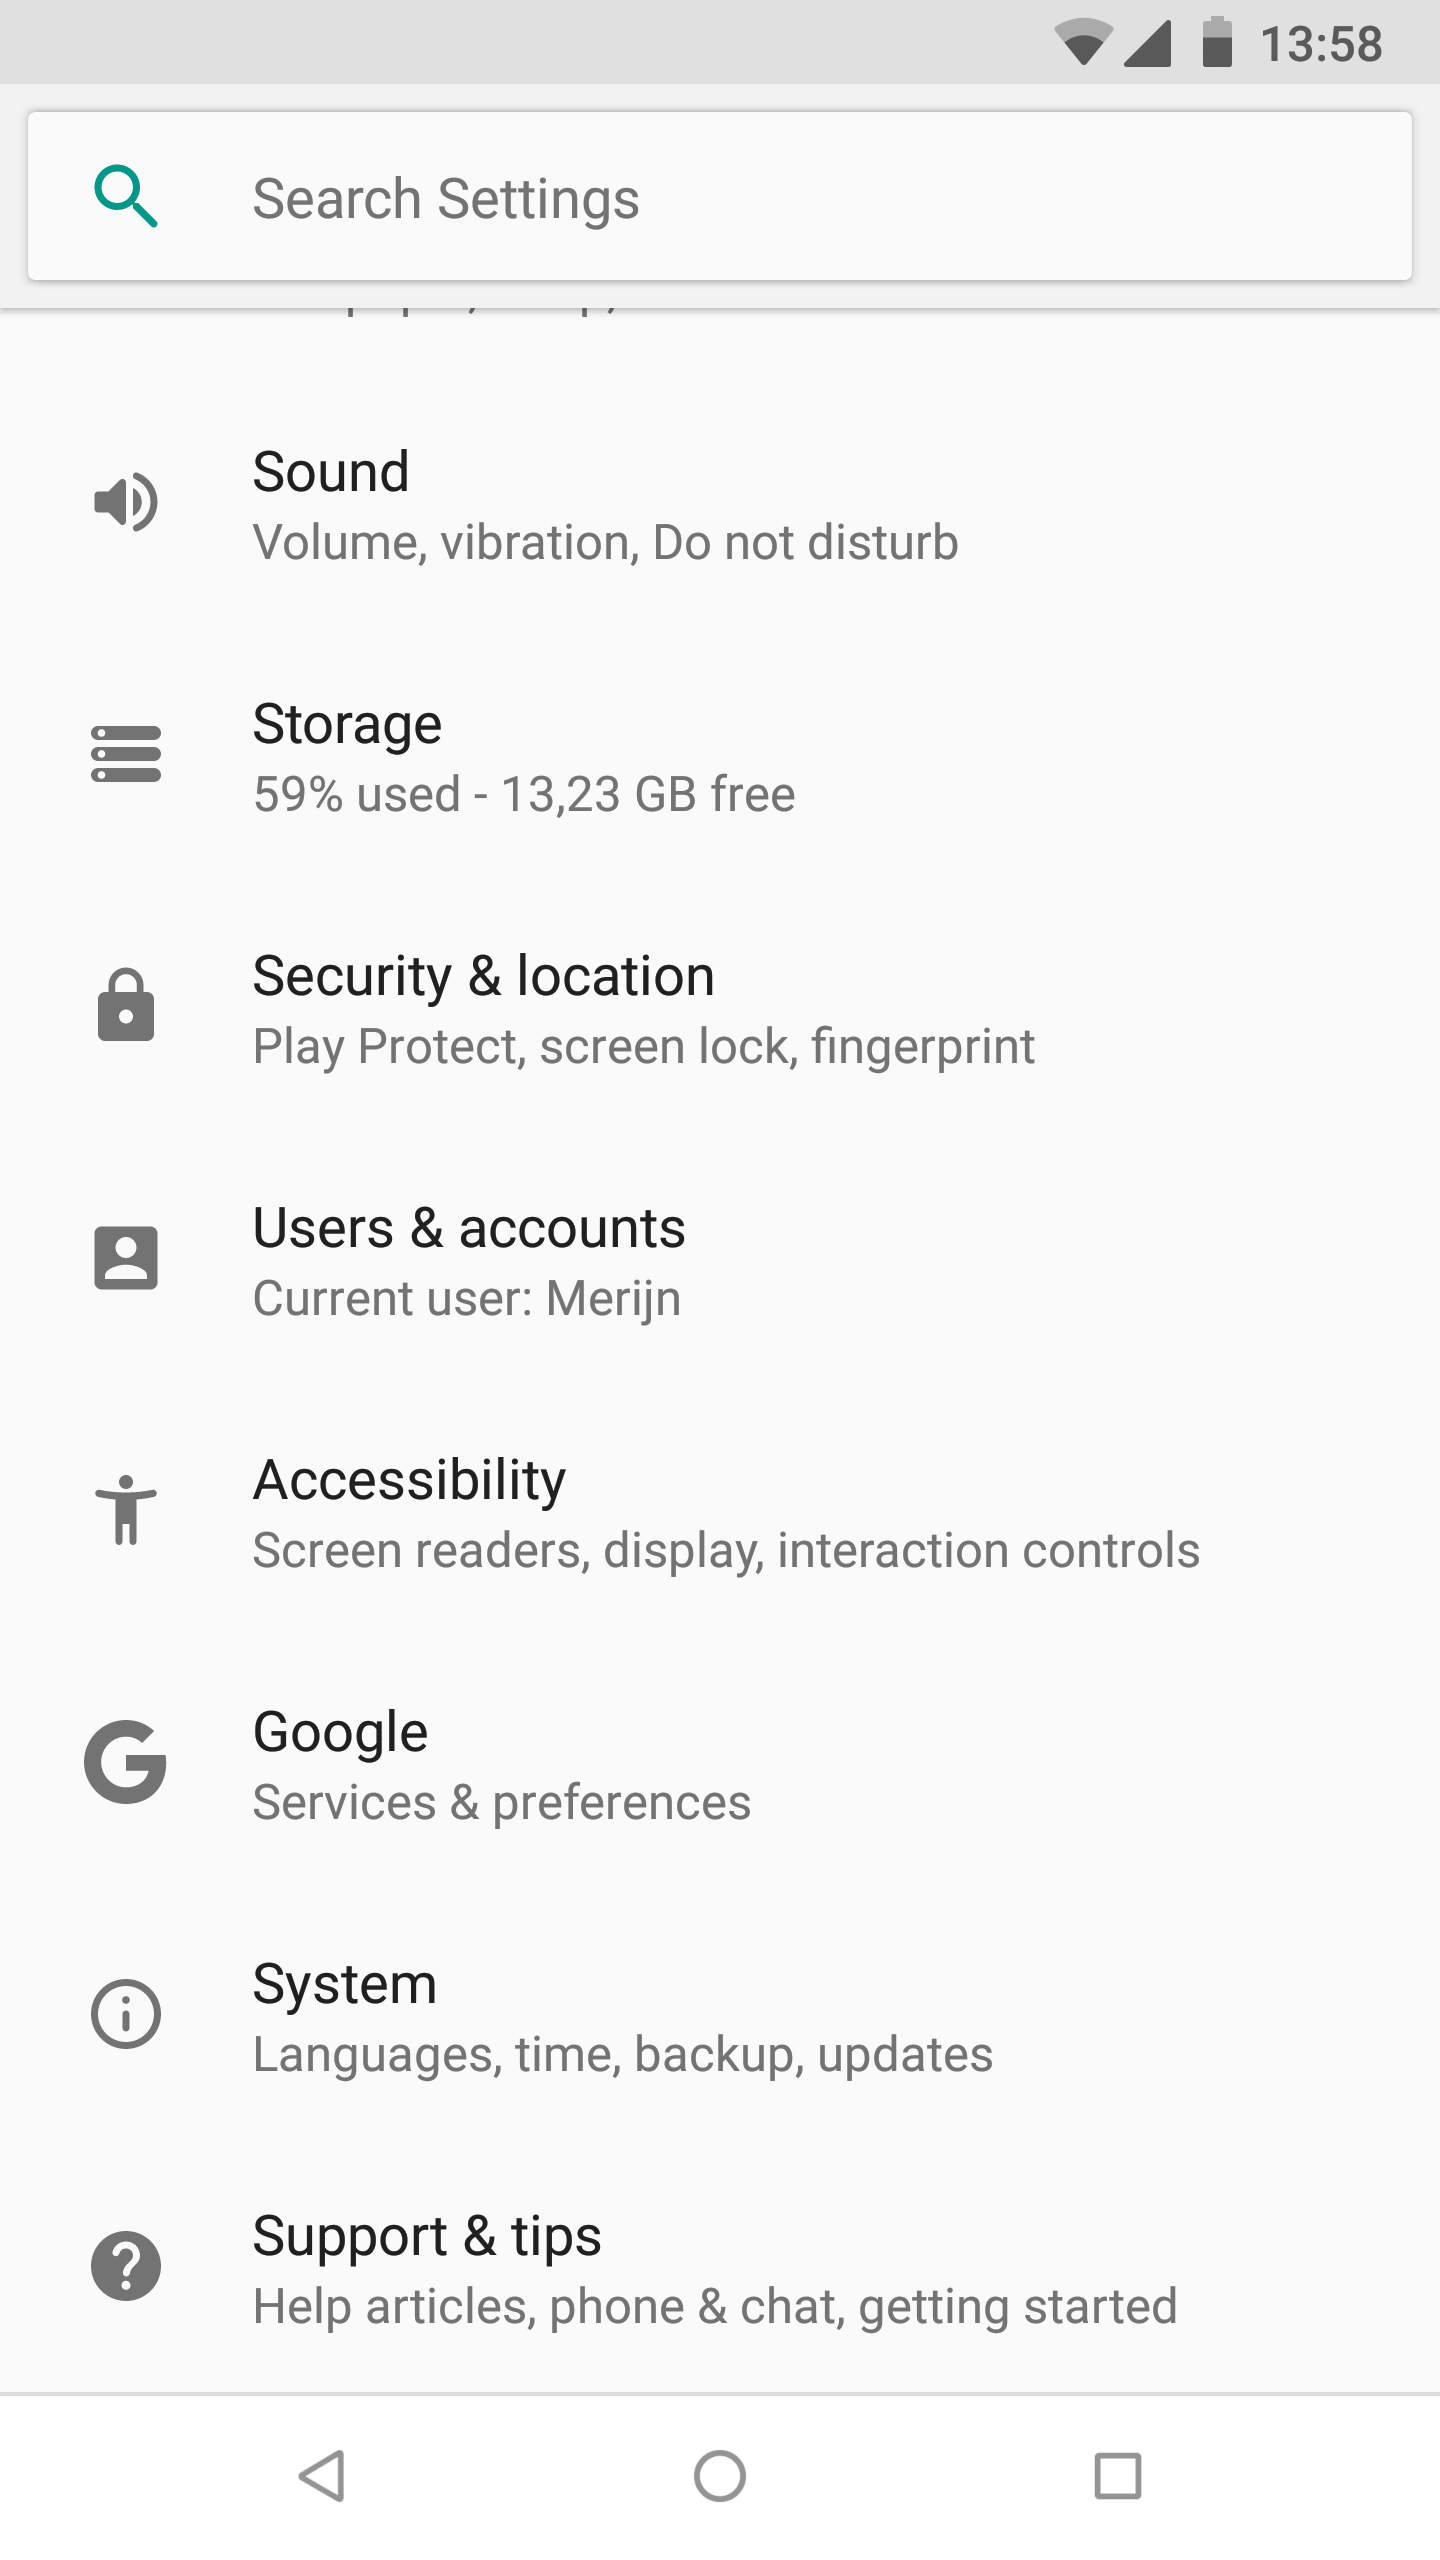
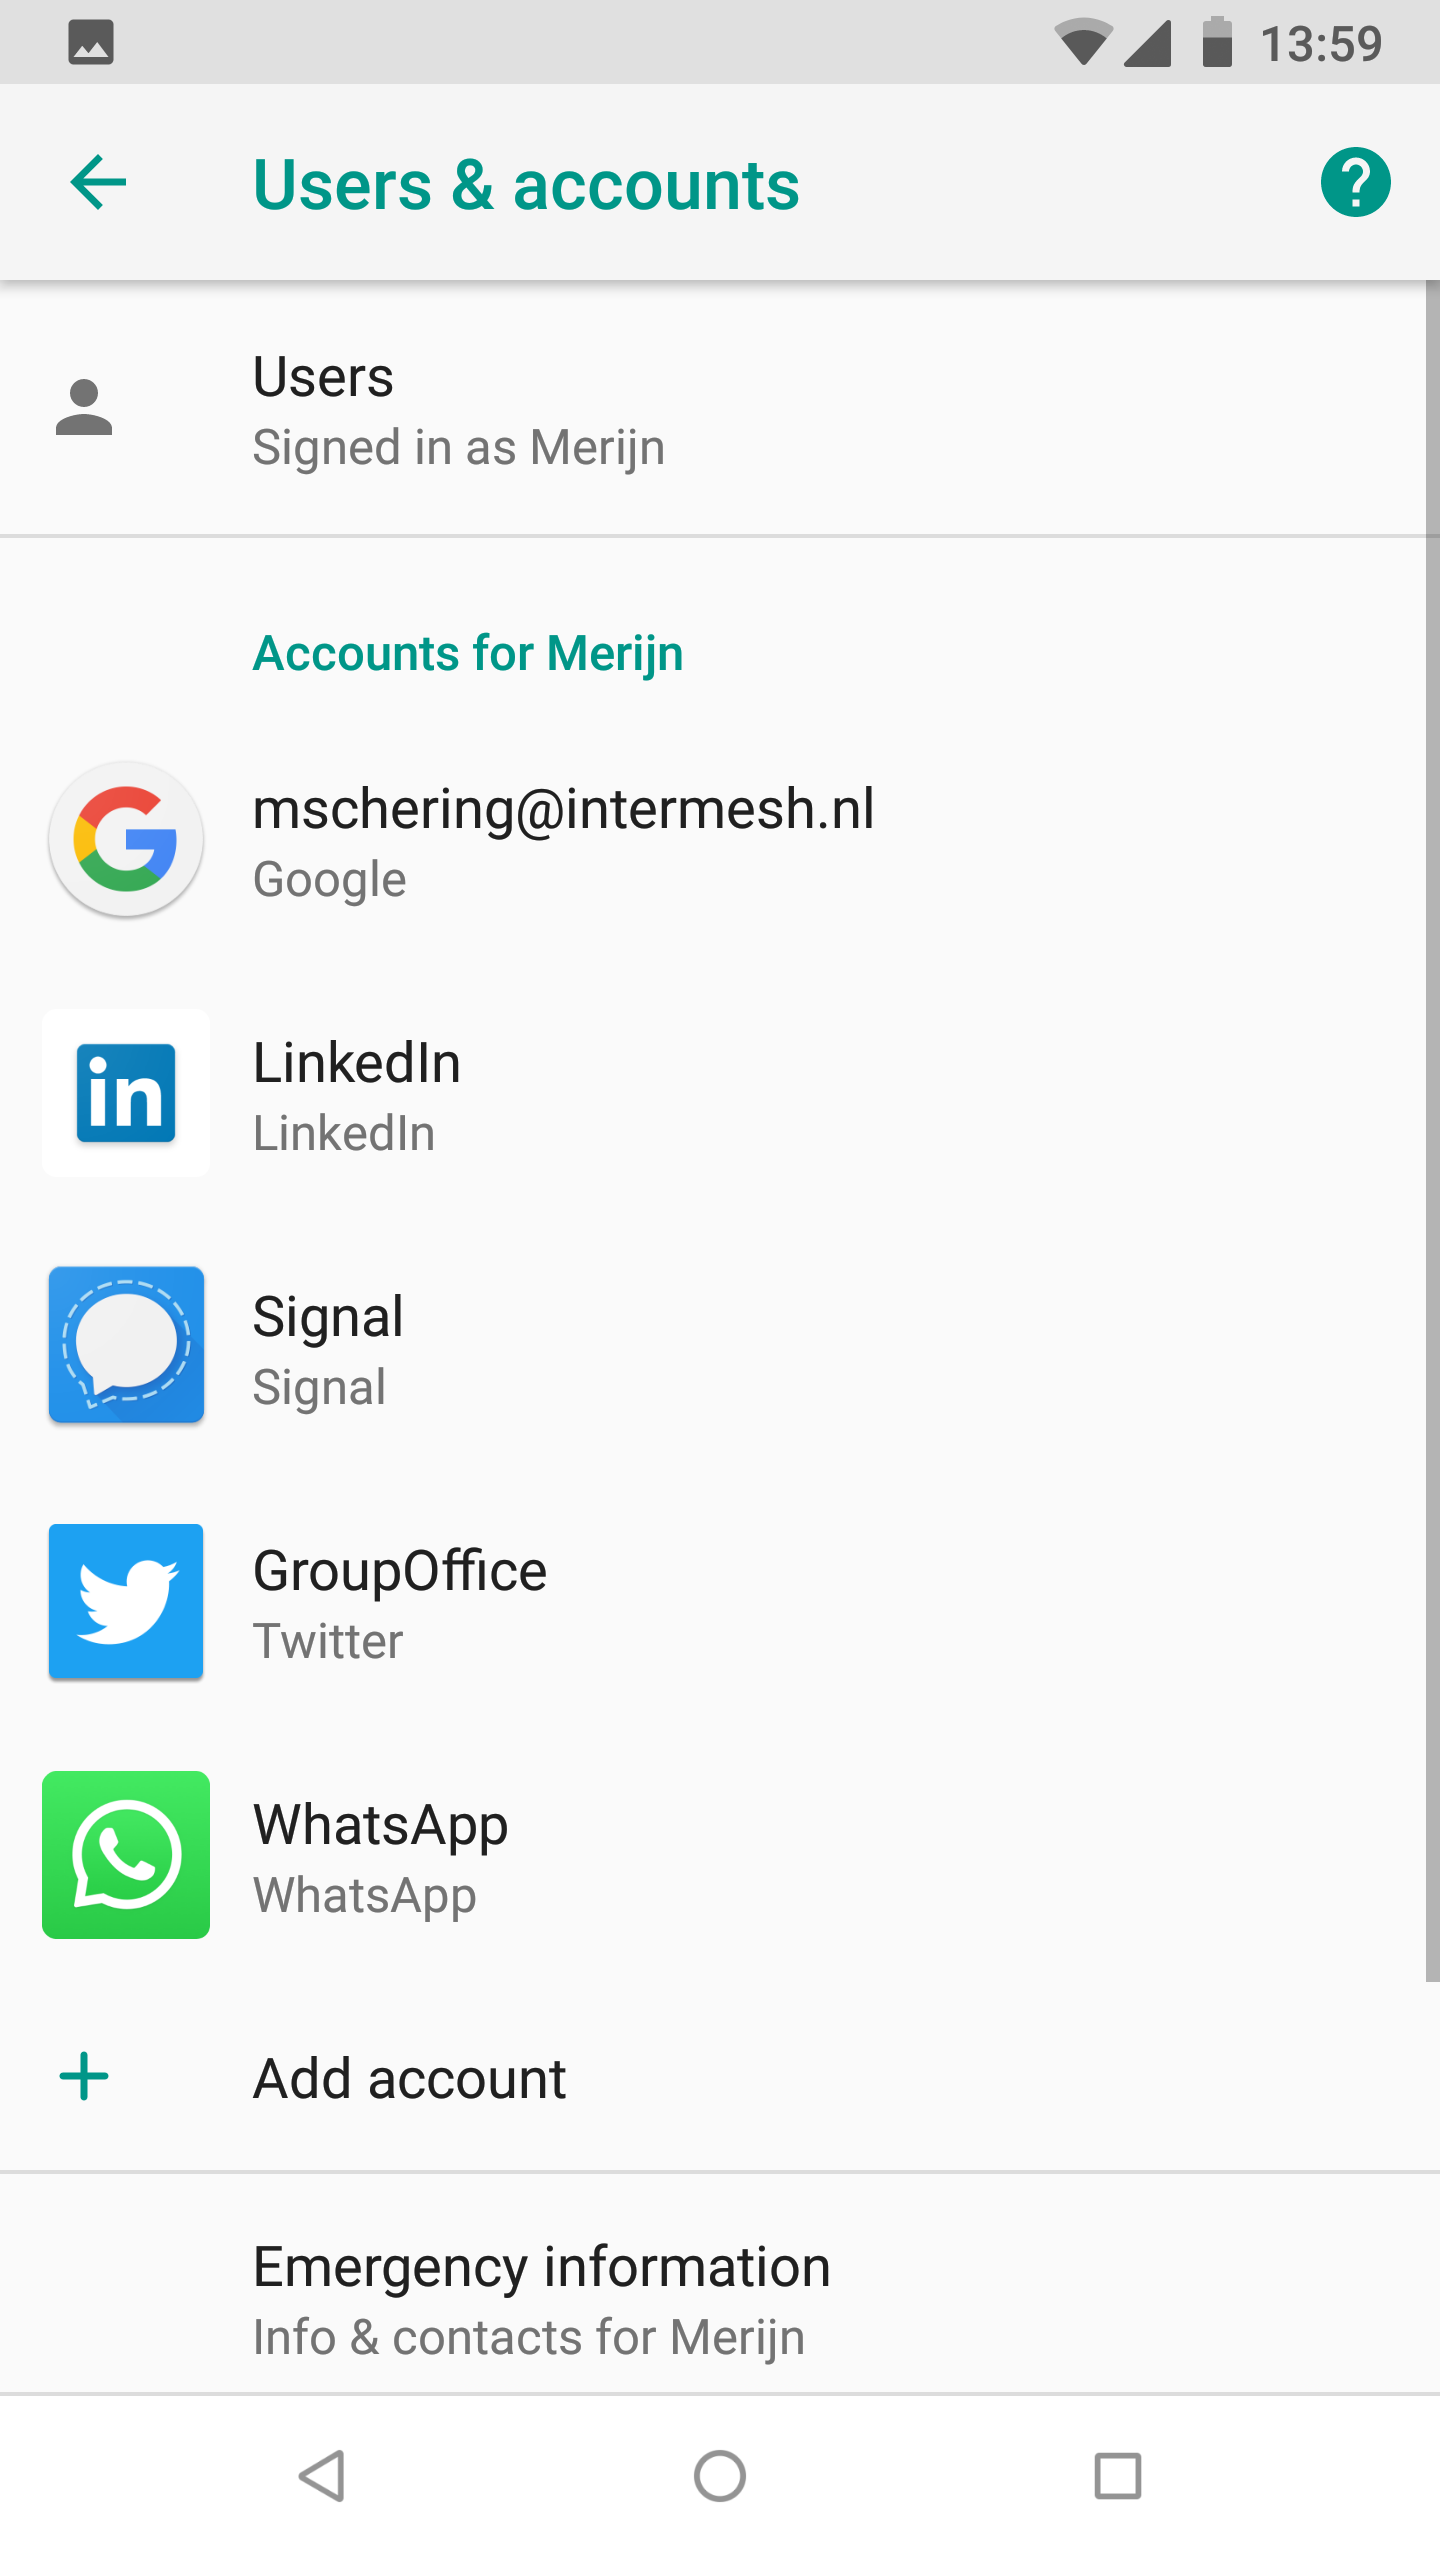
Navigate to Settings and tap “Users and Accounts”.
Scroll down and choose “Add account”.
In the “Add an account” screen tab “Exchange”.

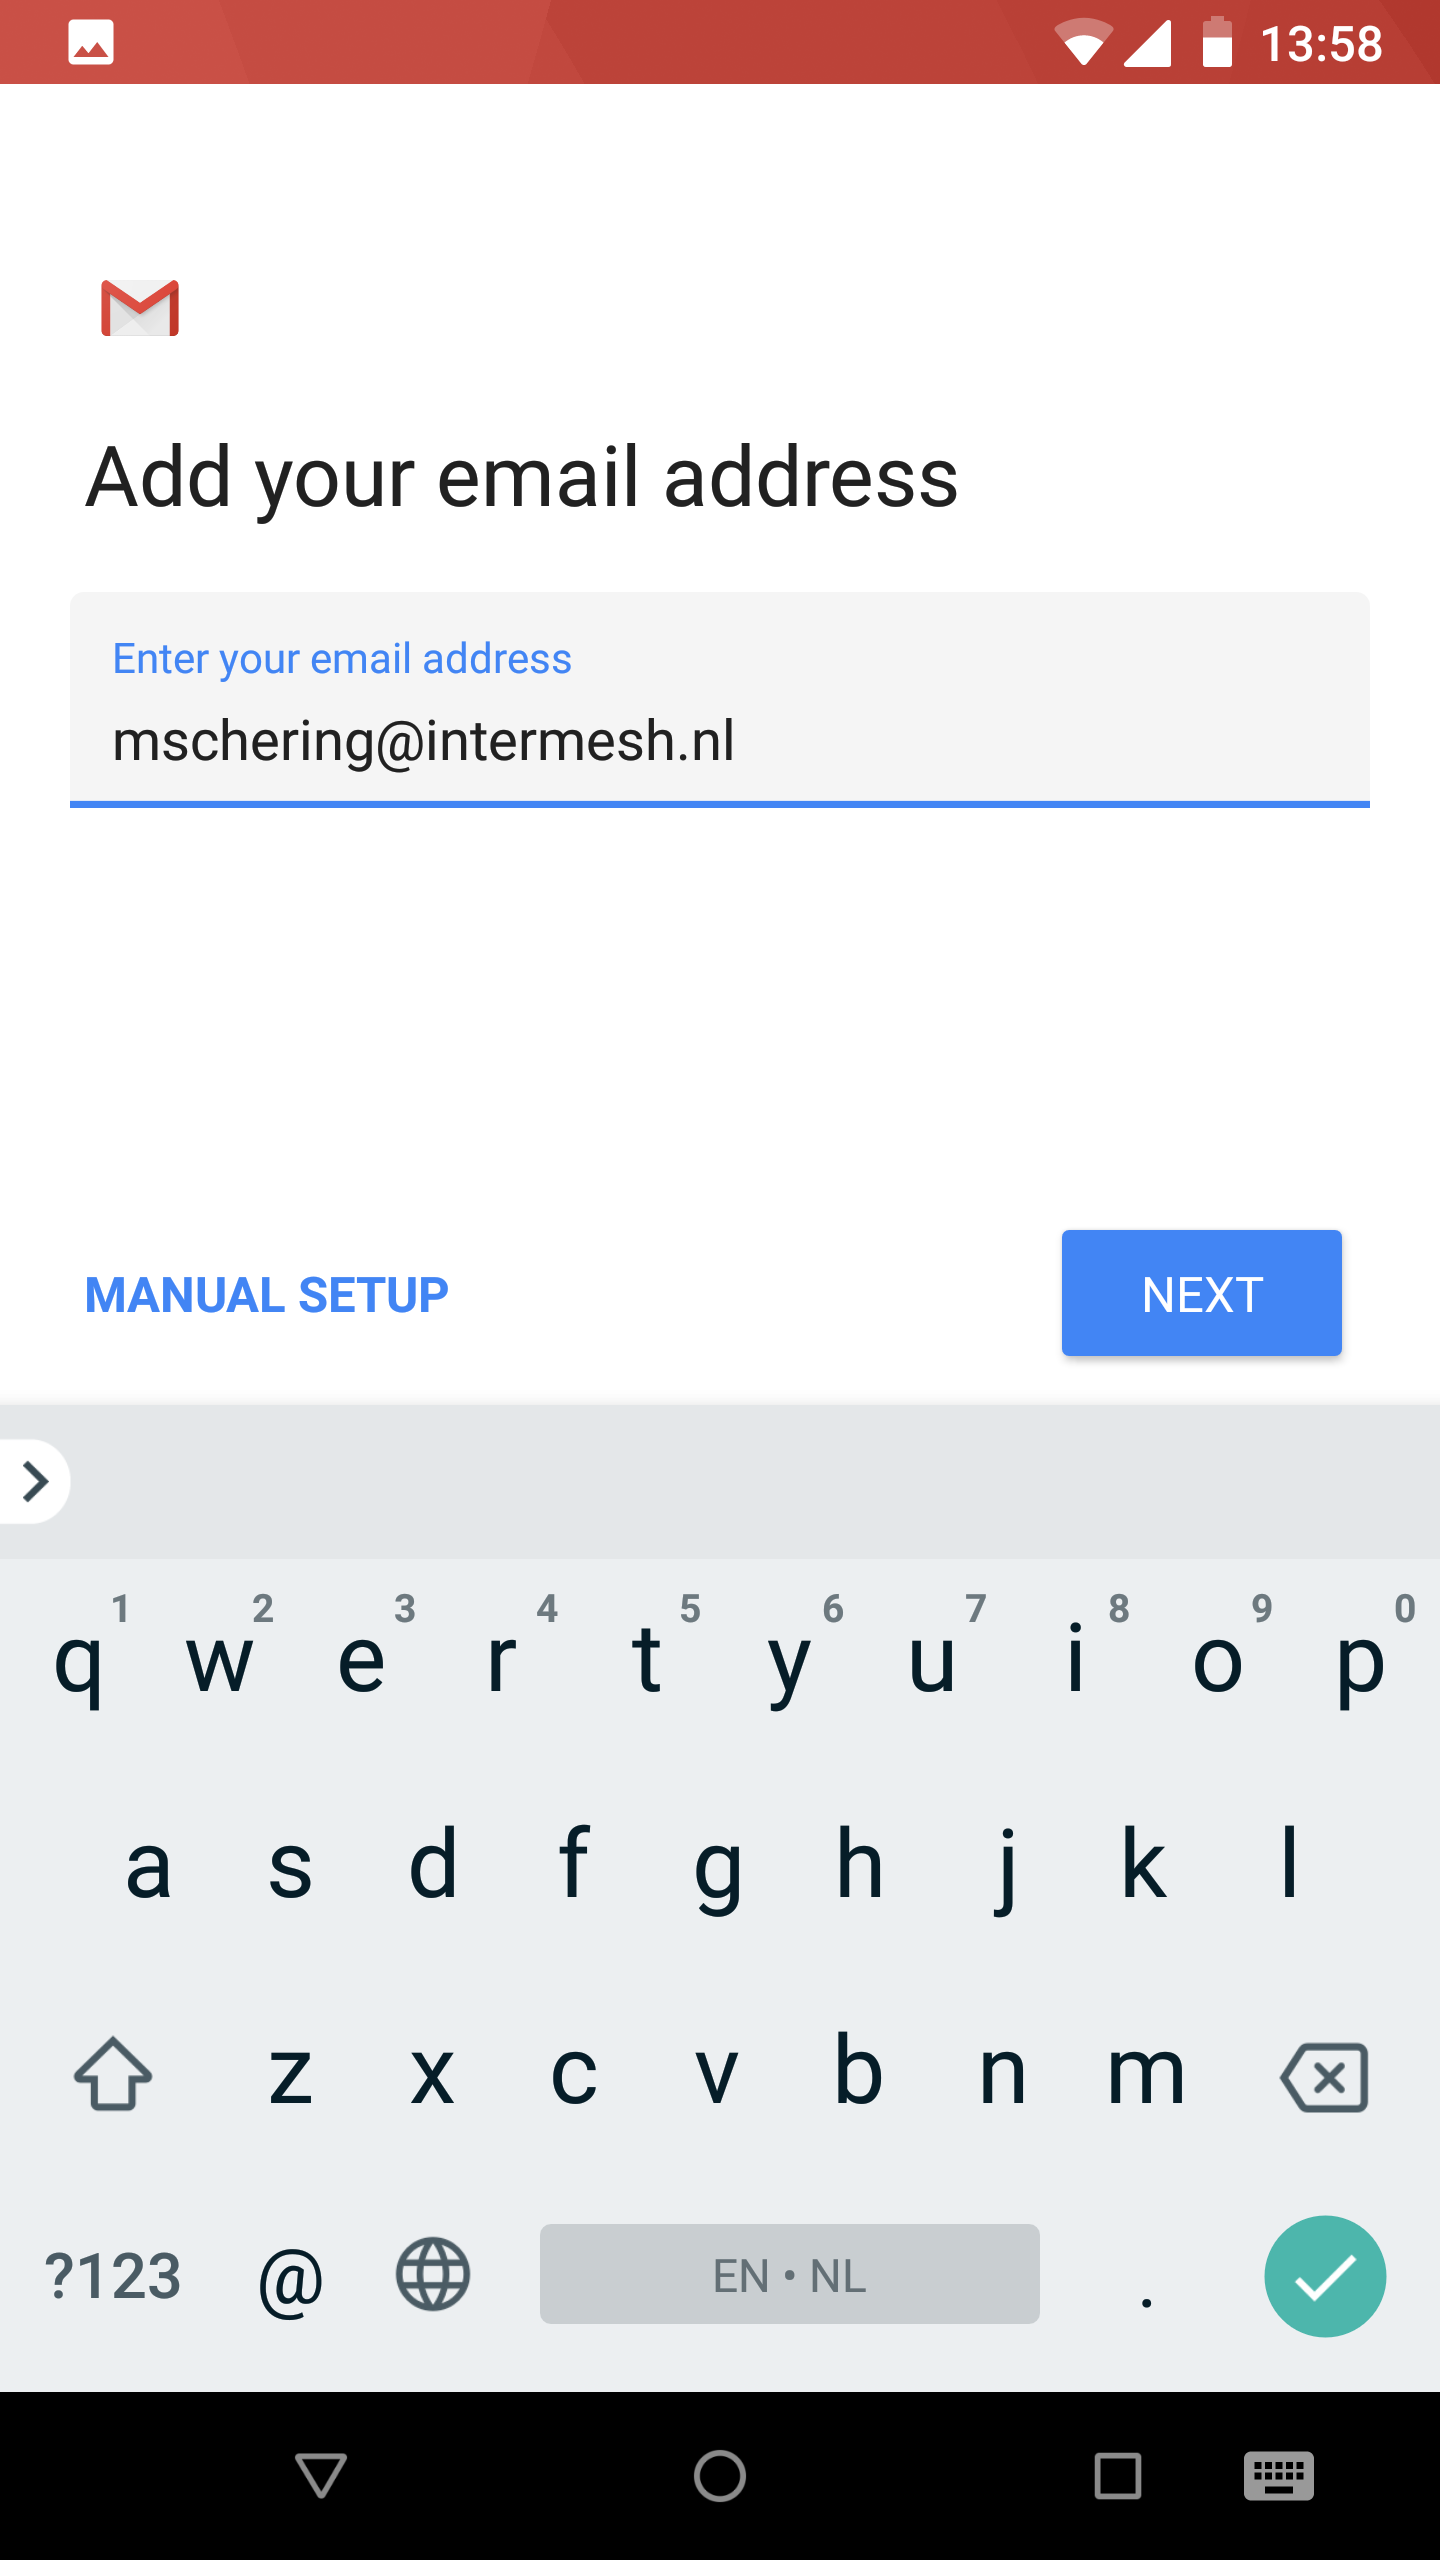
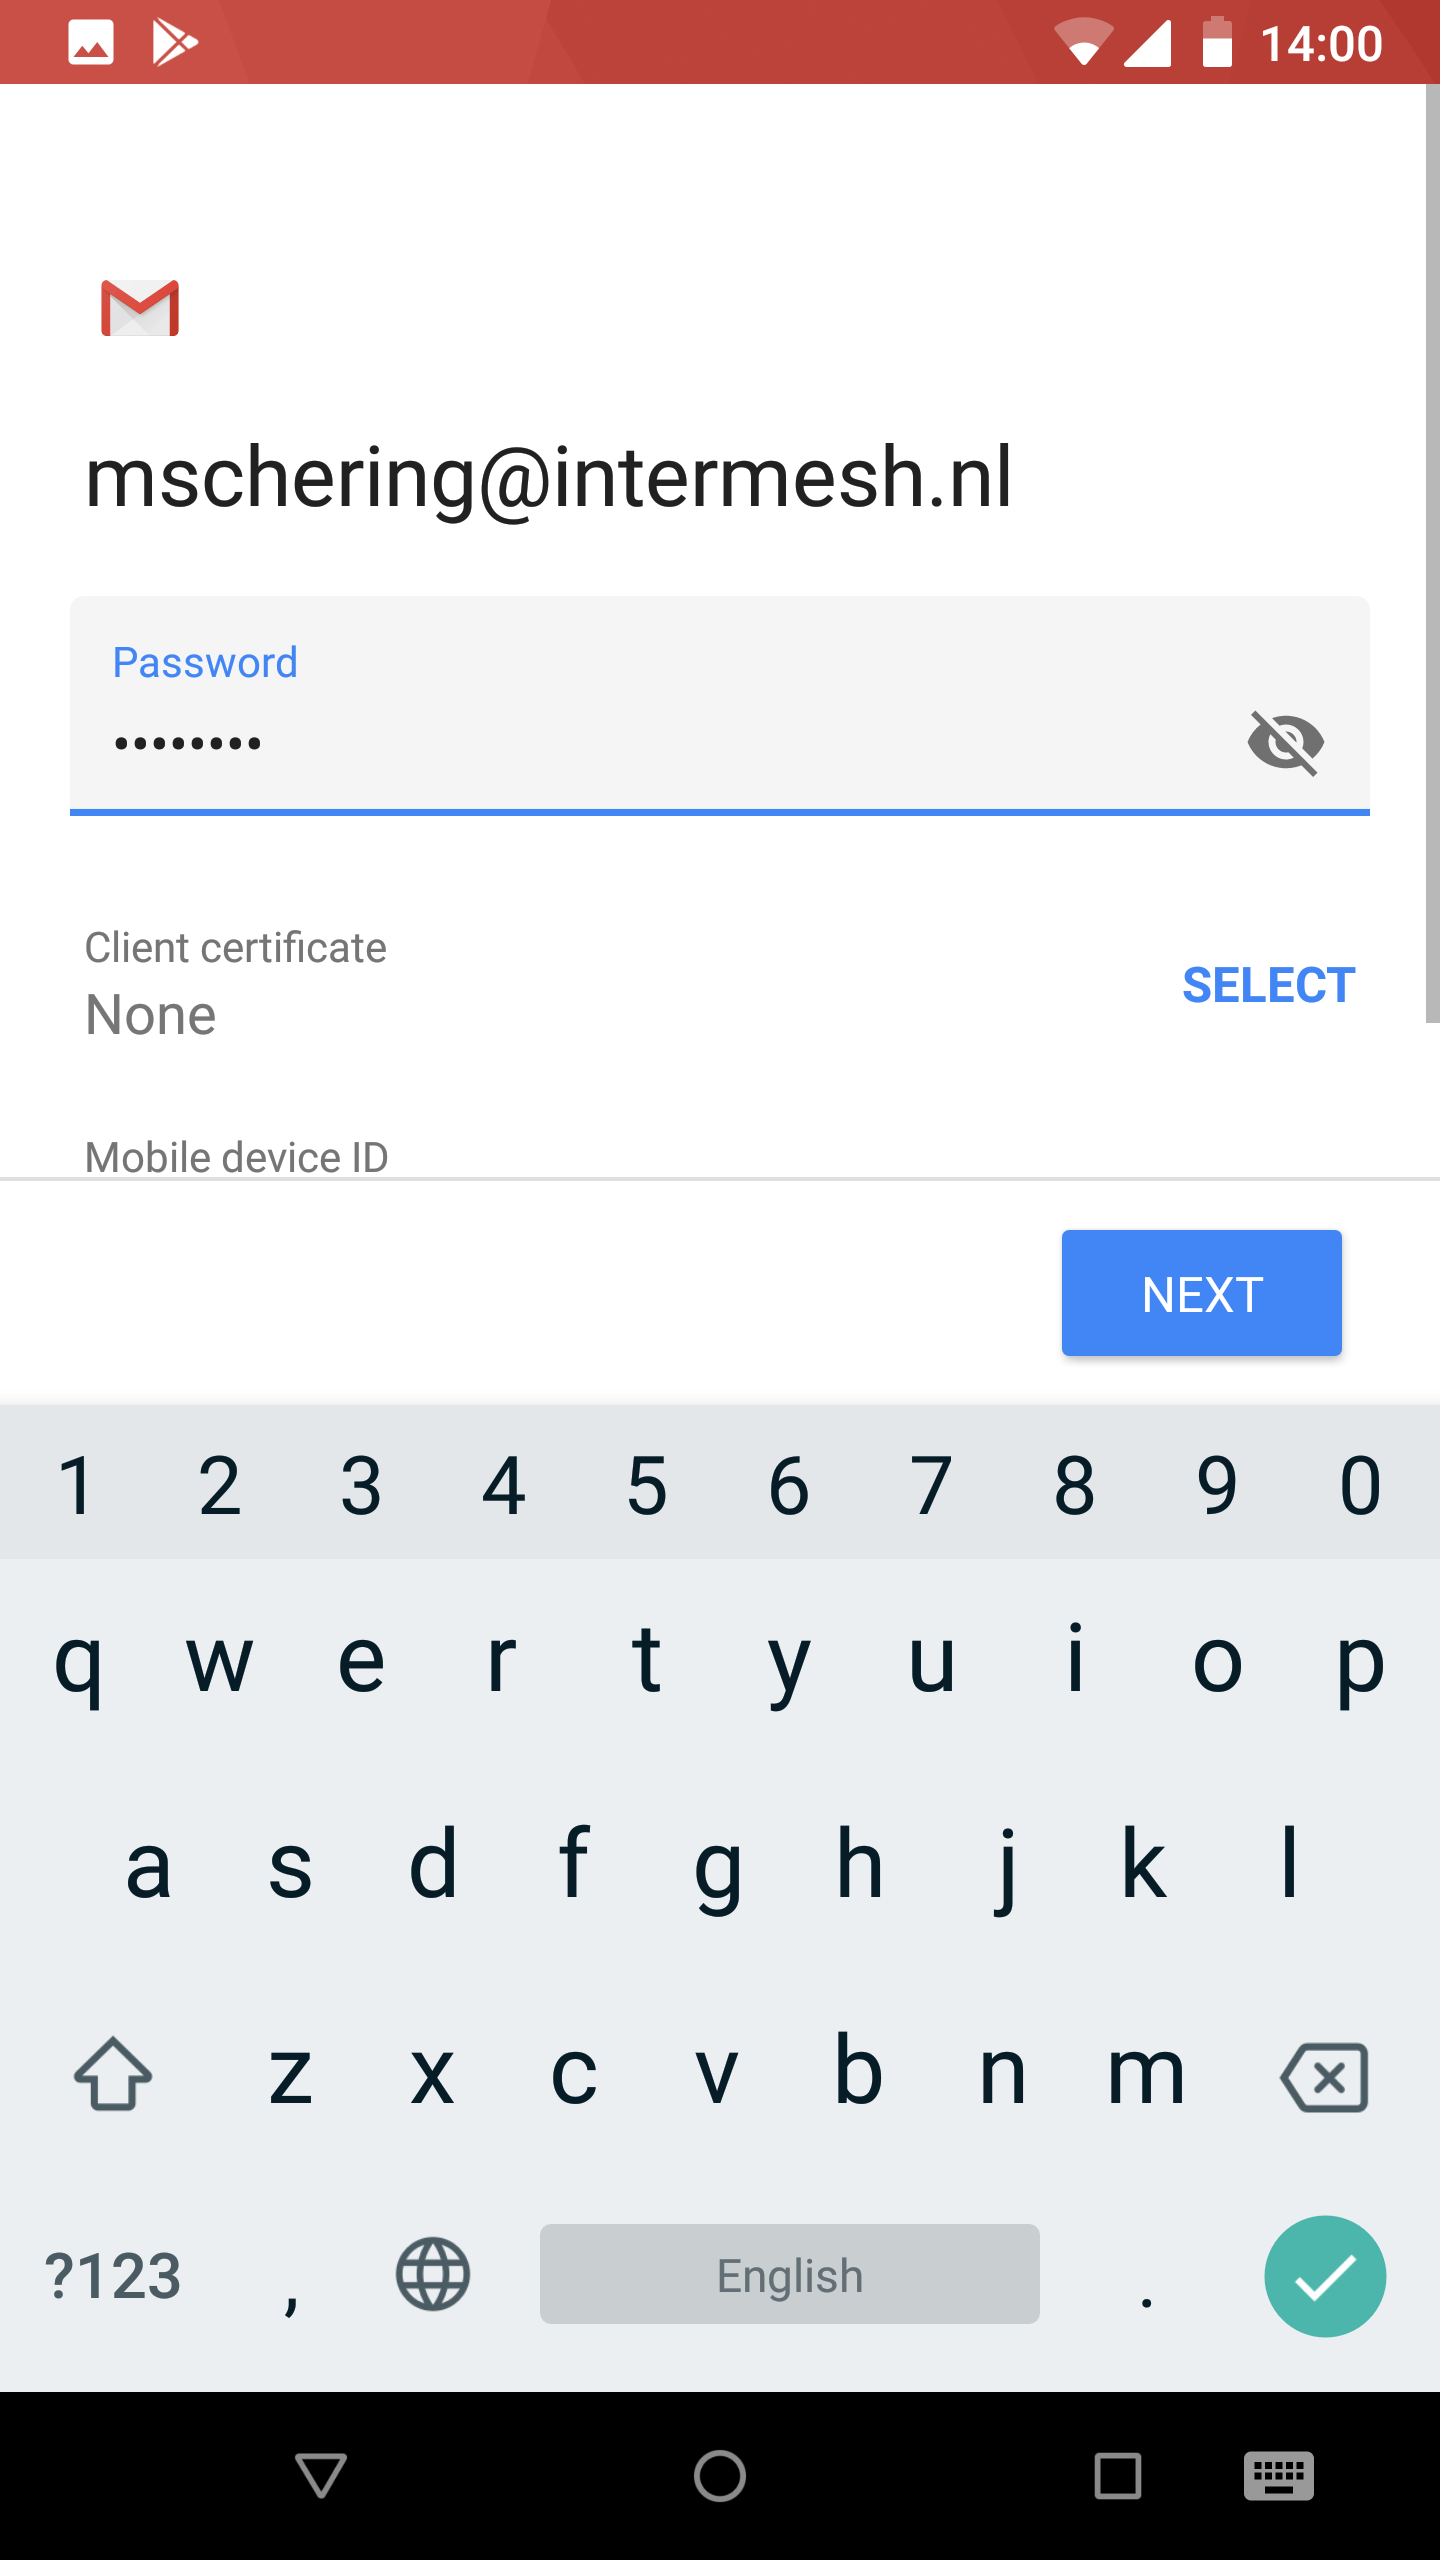
In the next screen enter your e-mail address and tab the “Manual setup” button in the bottom left corner.
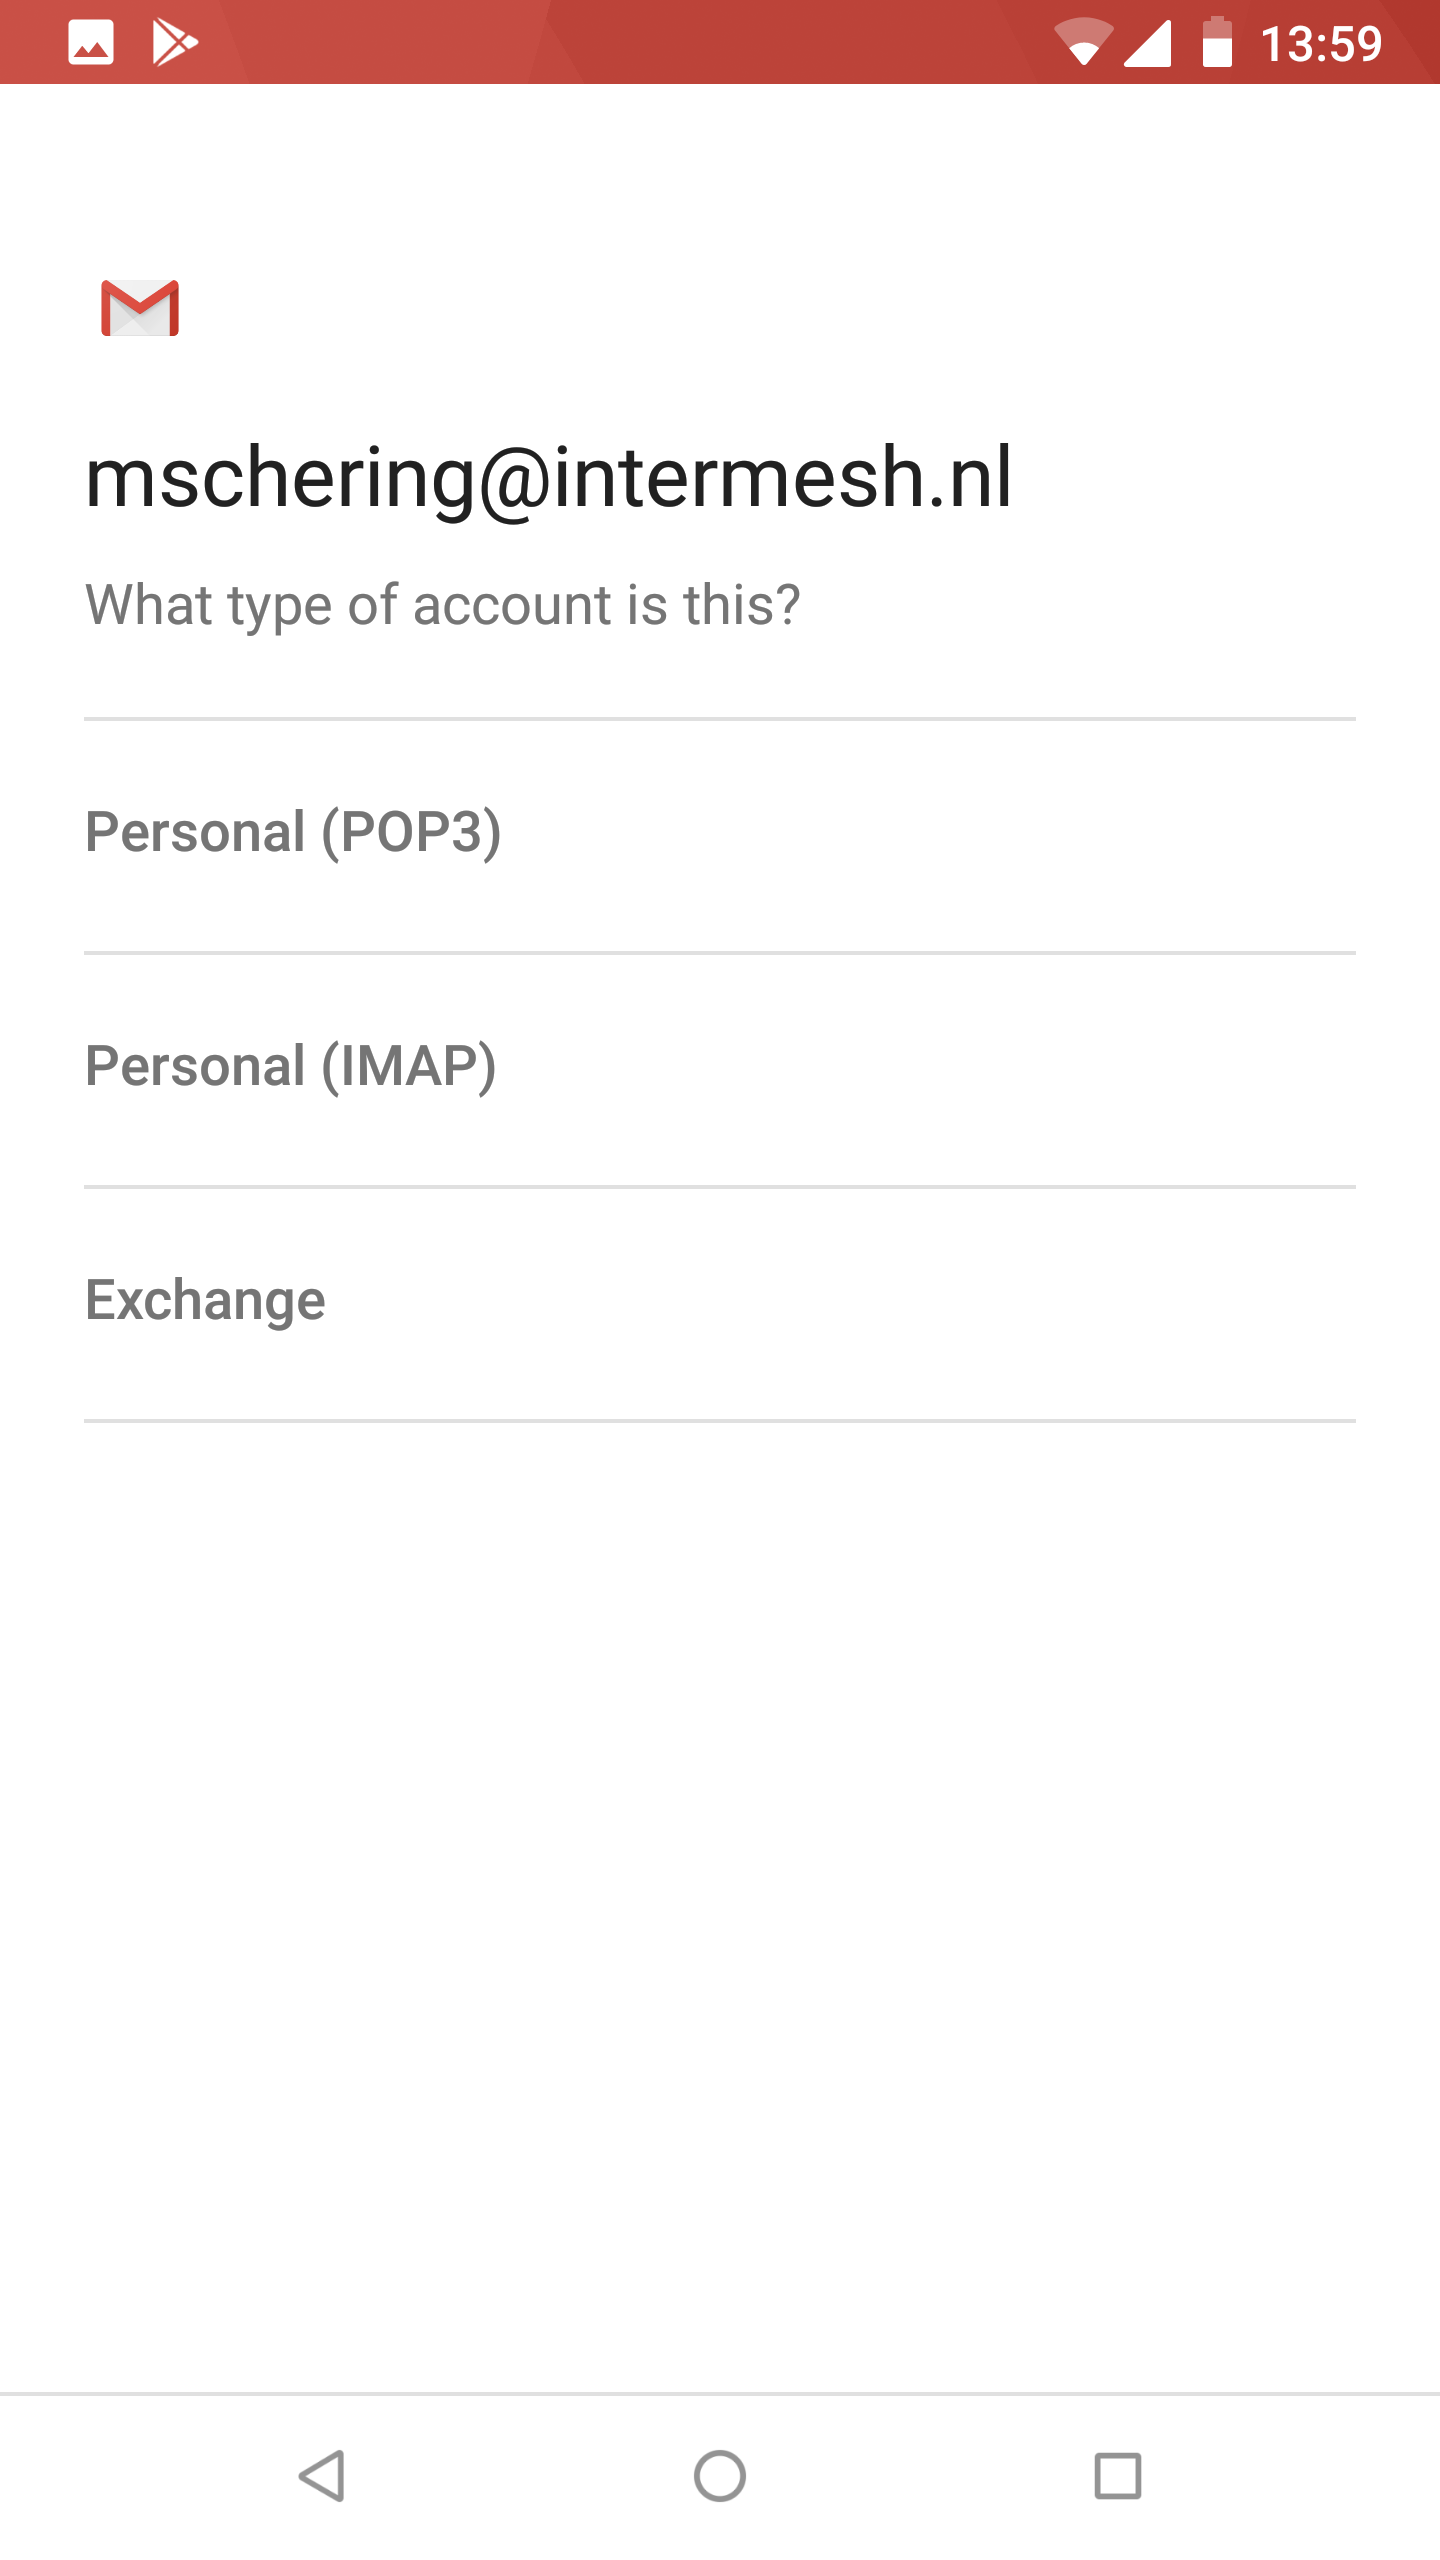
Then choose for the “Exhange”.
Enter your password.
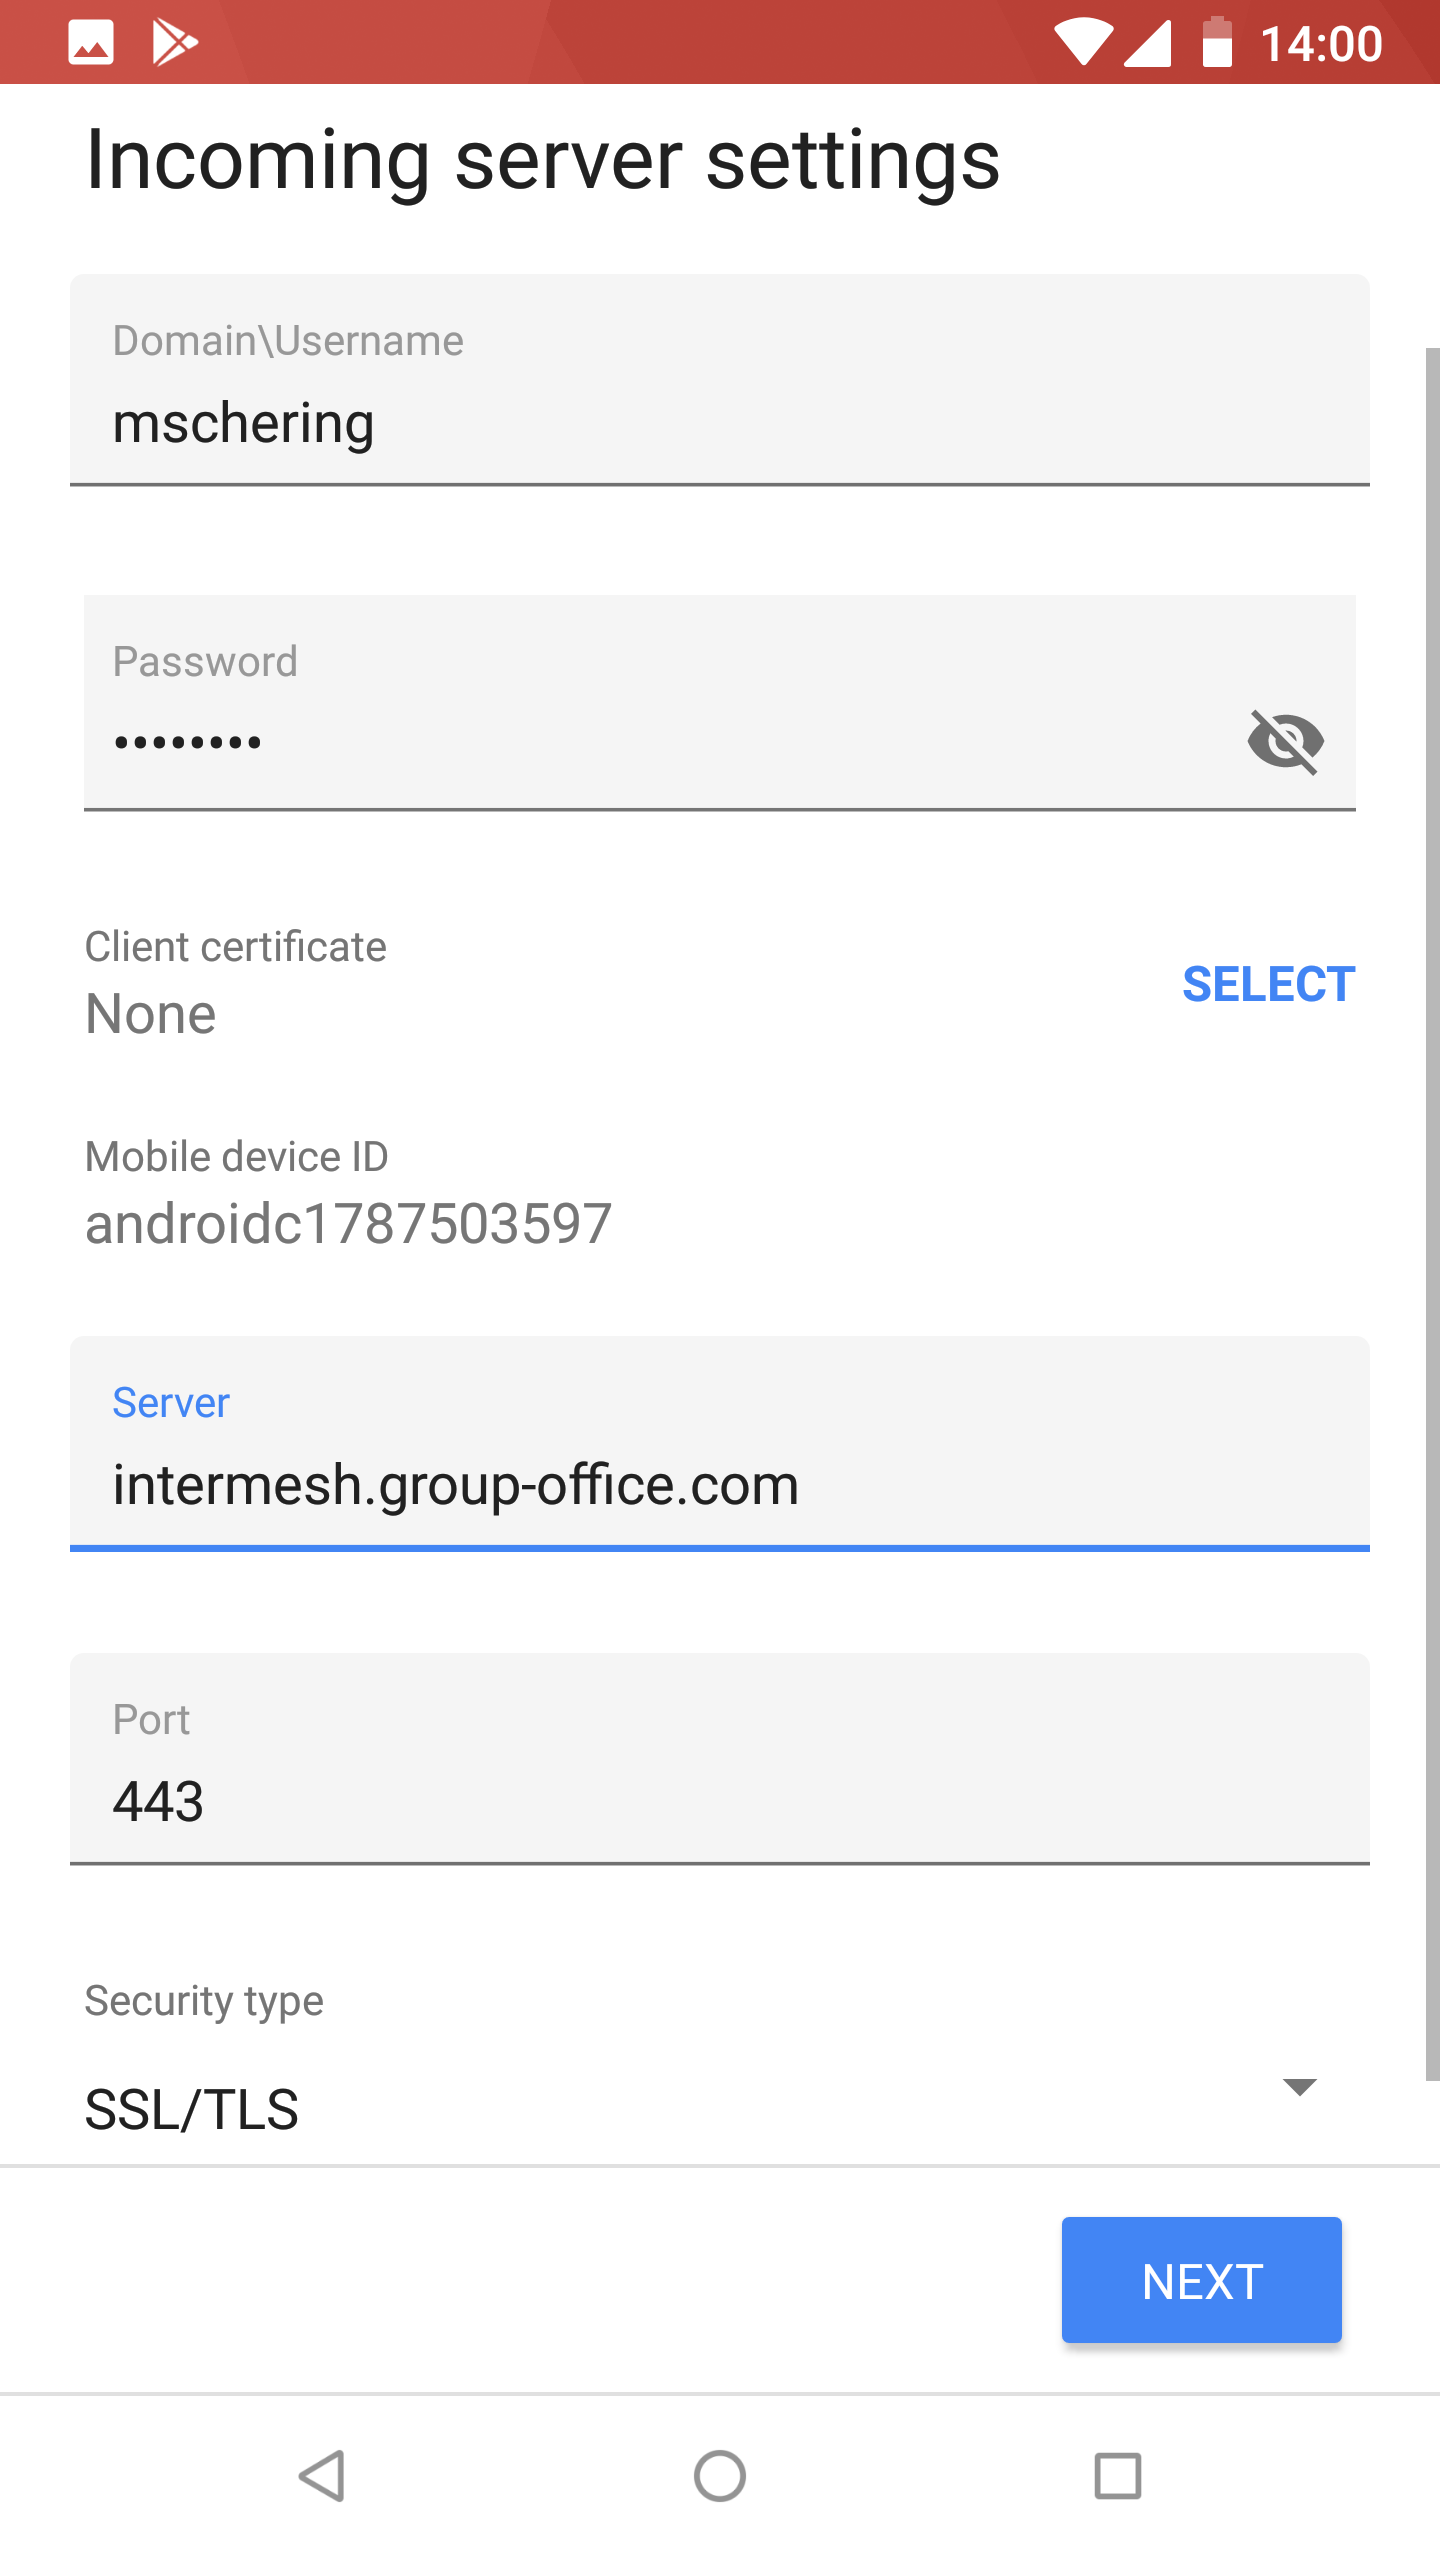
In the next screen you must adjust your server settings. It will prefill the username with the e-mail address and the server name with the domain from your e-mail address. This is most likely incorrect. Please adjust to your GroupOffice username and enter the Server hostname.
In the next screen you must confirm the remote security administration privileges.

For some reason you must confirm this twice but now with more info.

Optionally you can give it an account name in the final step.
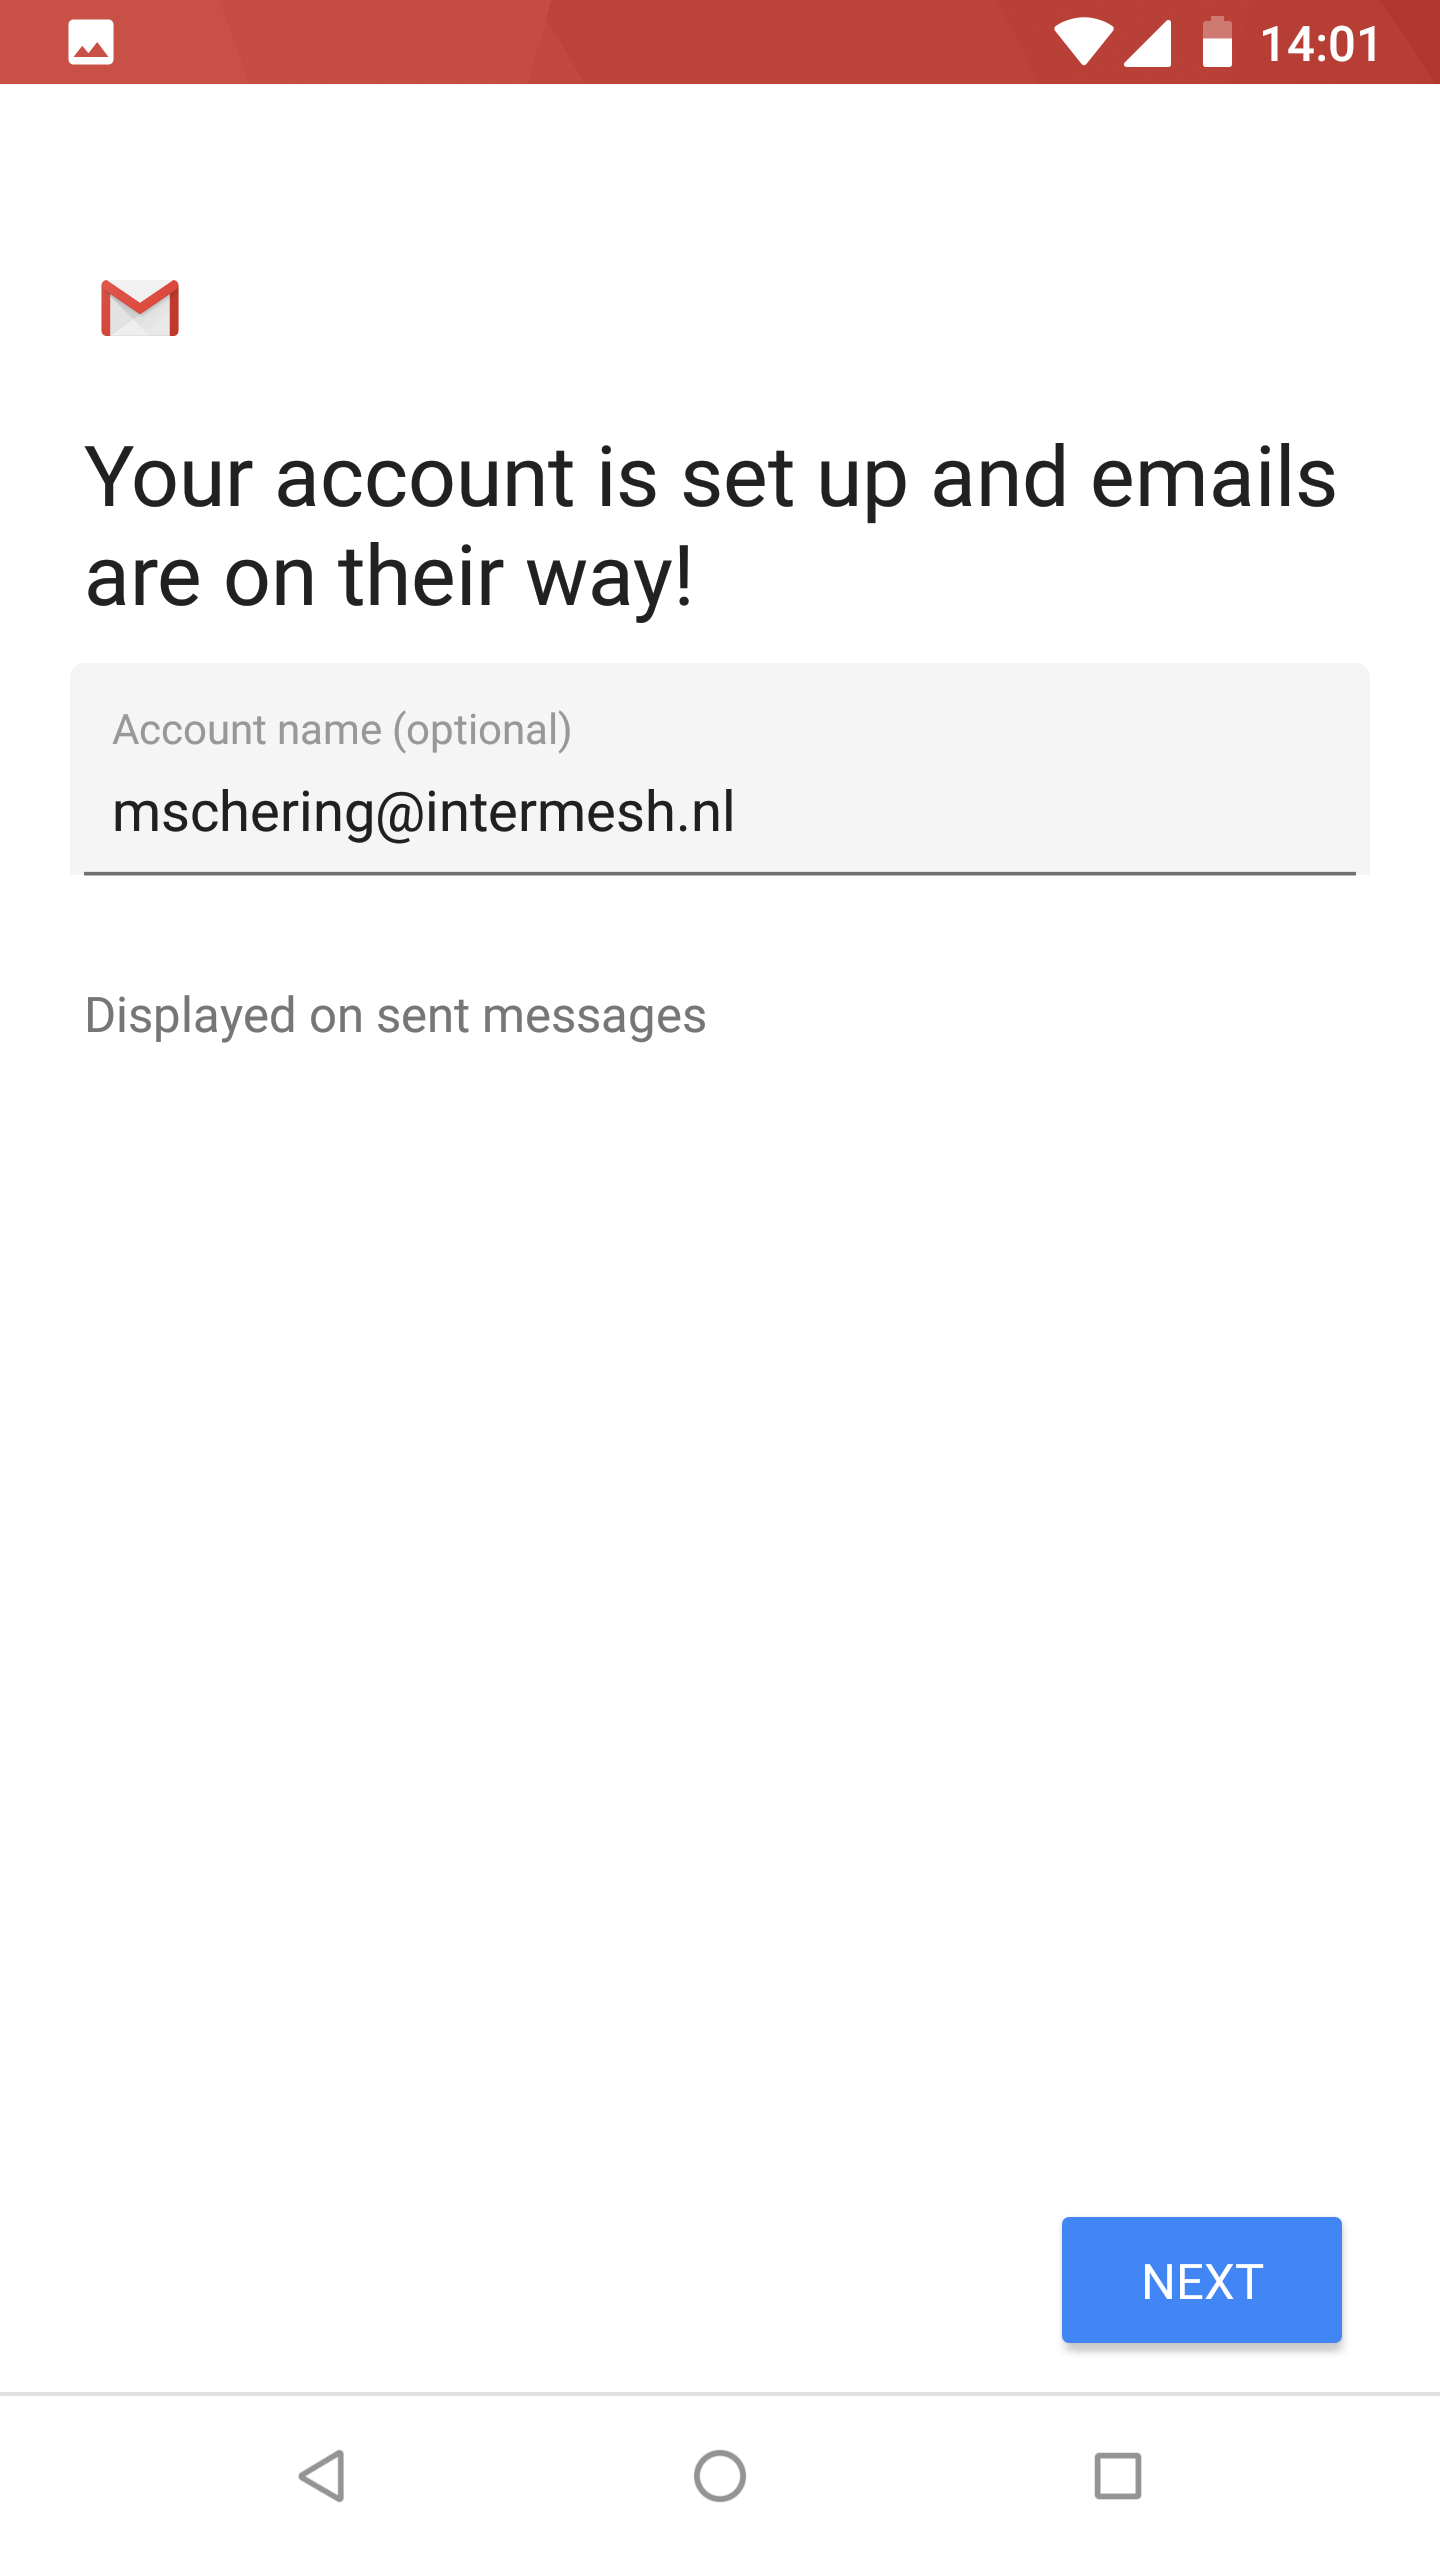
Now you must give it some time to sync everything. Then check your contacts, e-mail and calendar for your GroupOffice data!