User groups
The first thing you need to do is create user groups for your organization. Permissions are much easier to handle with groups then with individual users. When you grant the secretary access to all calendars as a user it will be a painful job to reset all permissions to another user when a new secretary joins the company. If you had done it with a group you could simply add the new employee to the secretary user group. So choose your groups wise with user permissions in mind. For example create:
A secretary group called “Secretary”
A group for the engineers called “Engineering”
Special user groups
A few special groups are created by default:
Admins: Users of this group will have permission to everything. Usually you don’t want to add any user to this group. See above.
Everyone: All users are in this group. Use carefully when granting permissions to this group.
Internal: All calendars, address books and task lists are shared to this group with write access by default. New employees are commonly added to this group. It should contain all company users and not your customers.
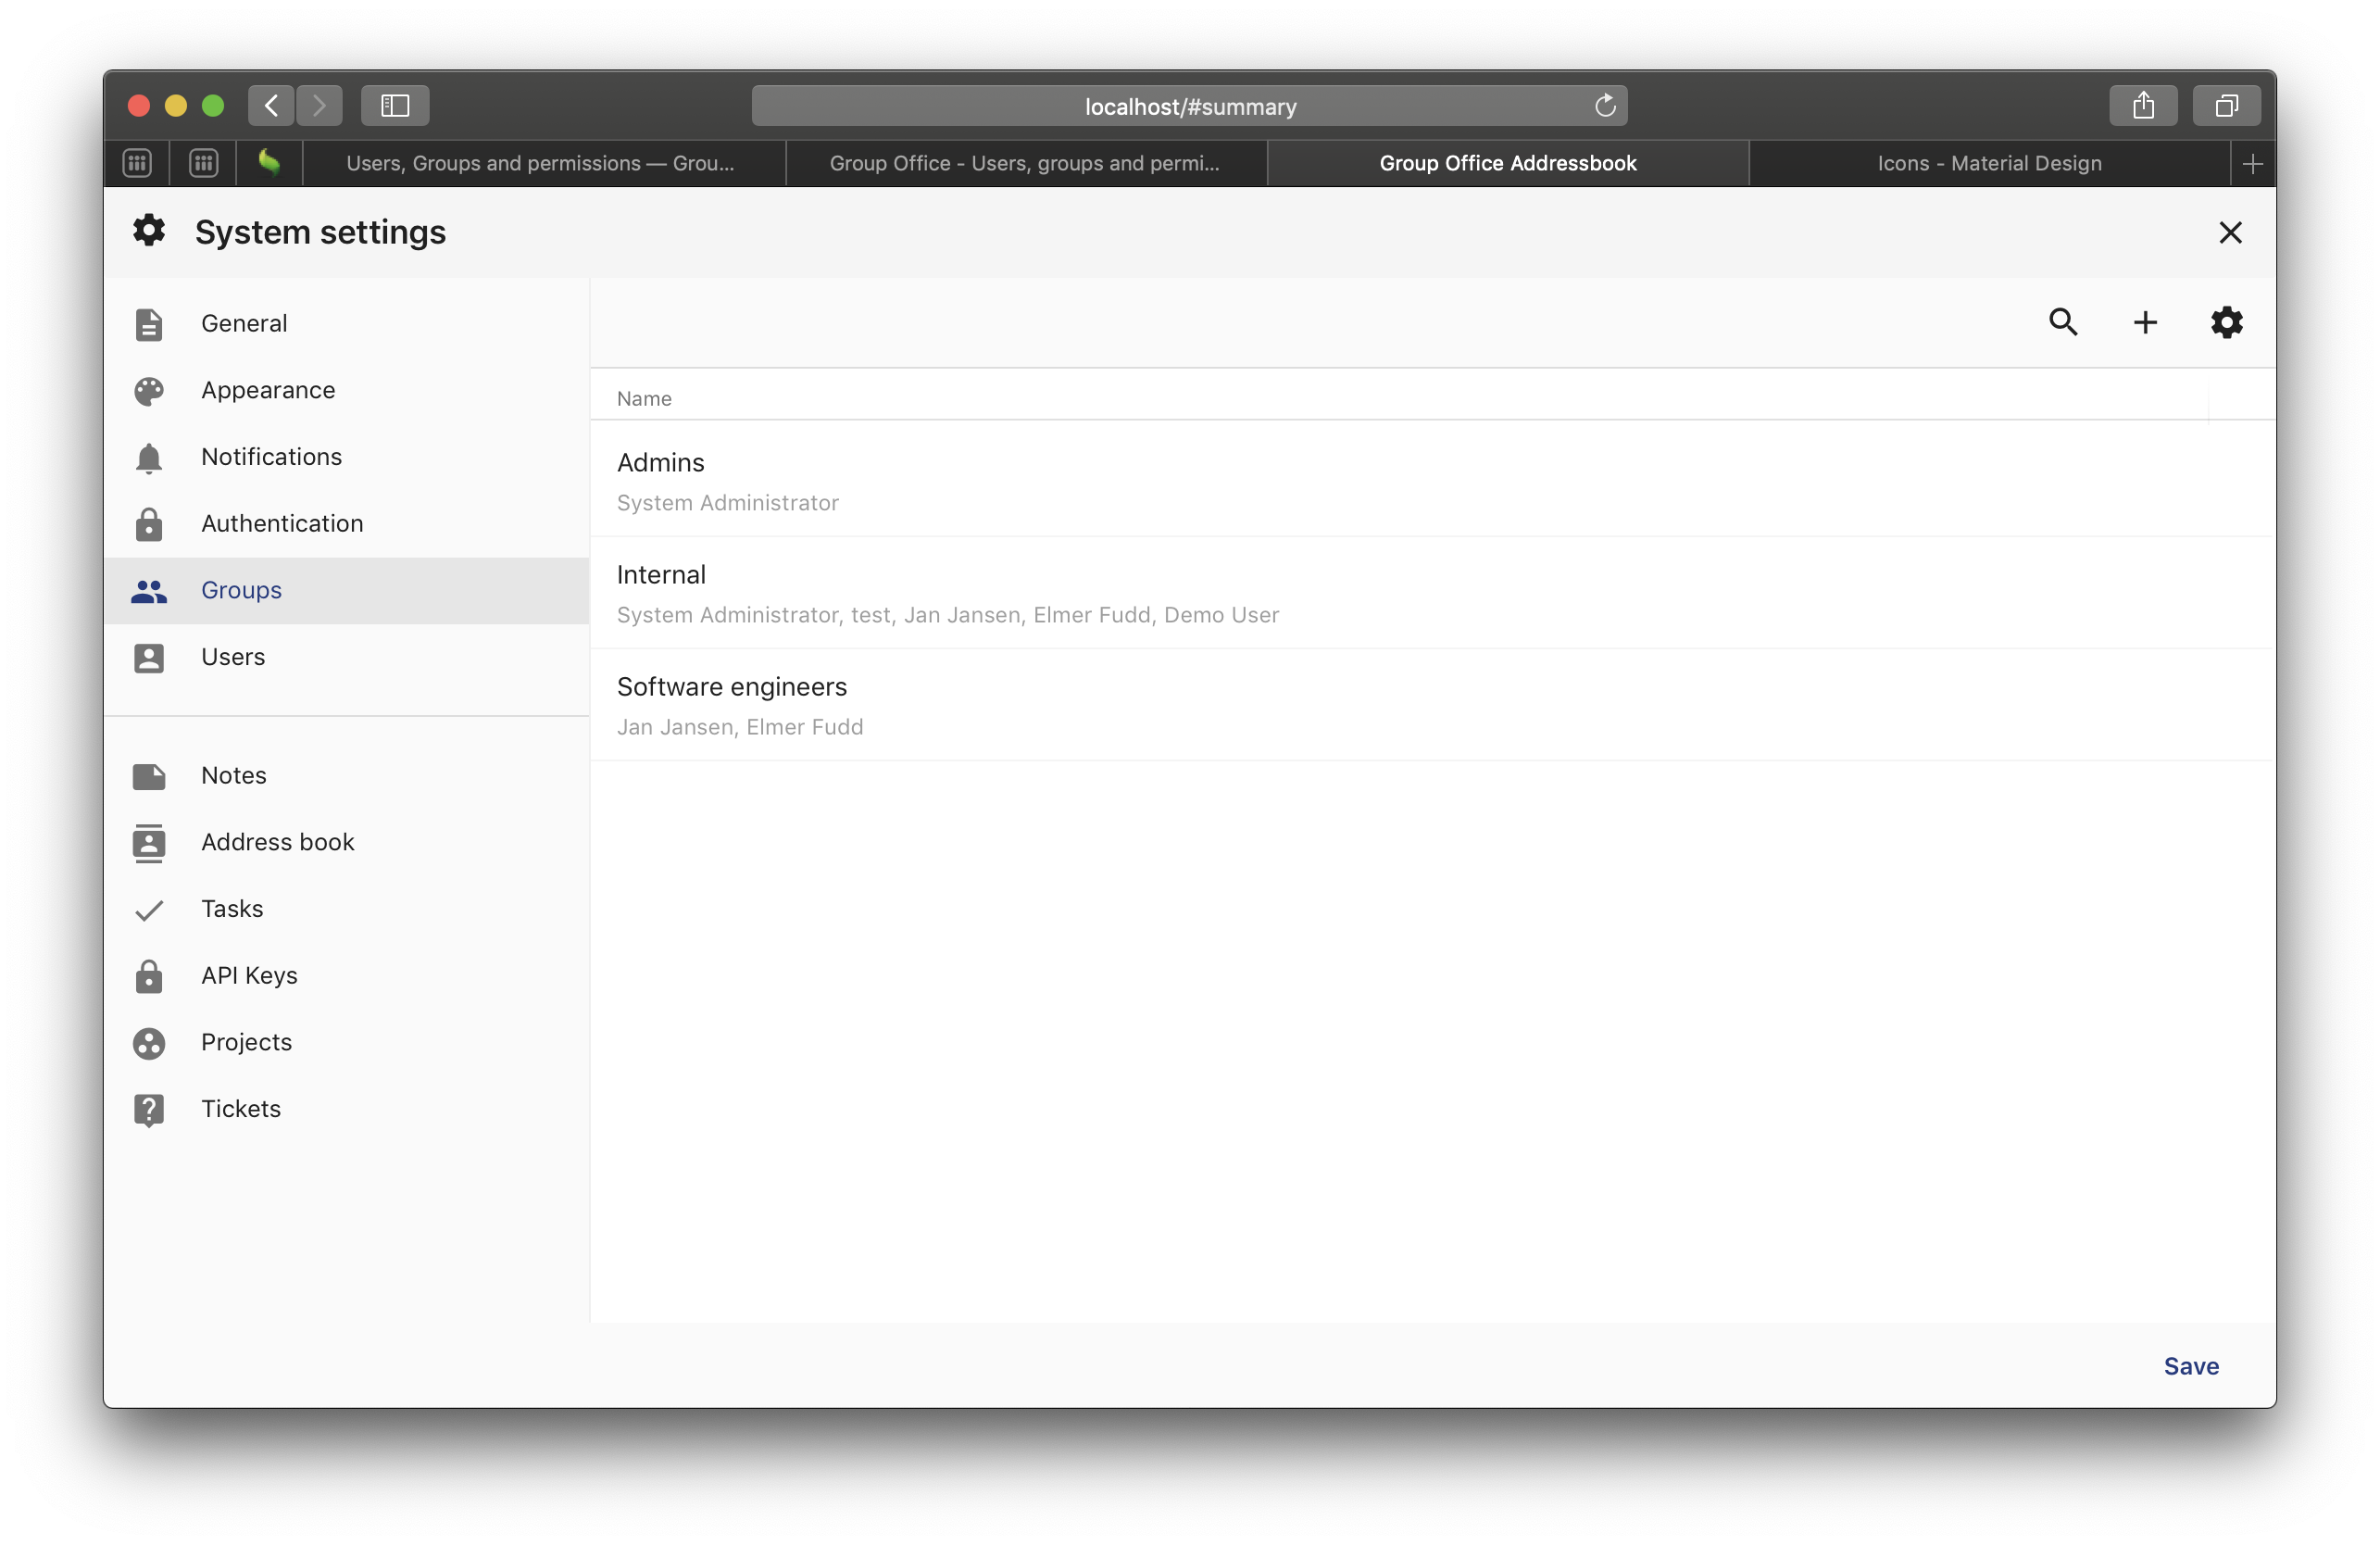
System settings - Groups
Edit group
The group edit dialog has 3 tabs:
Members
Here you can add group members. The selected members are on top. You can search for new members to add. Add them by ticking the checkbox.
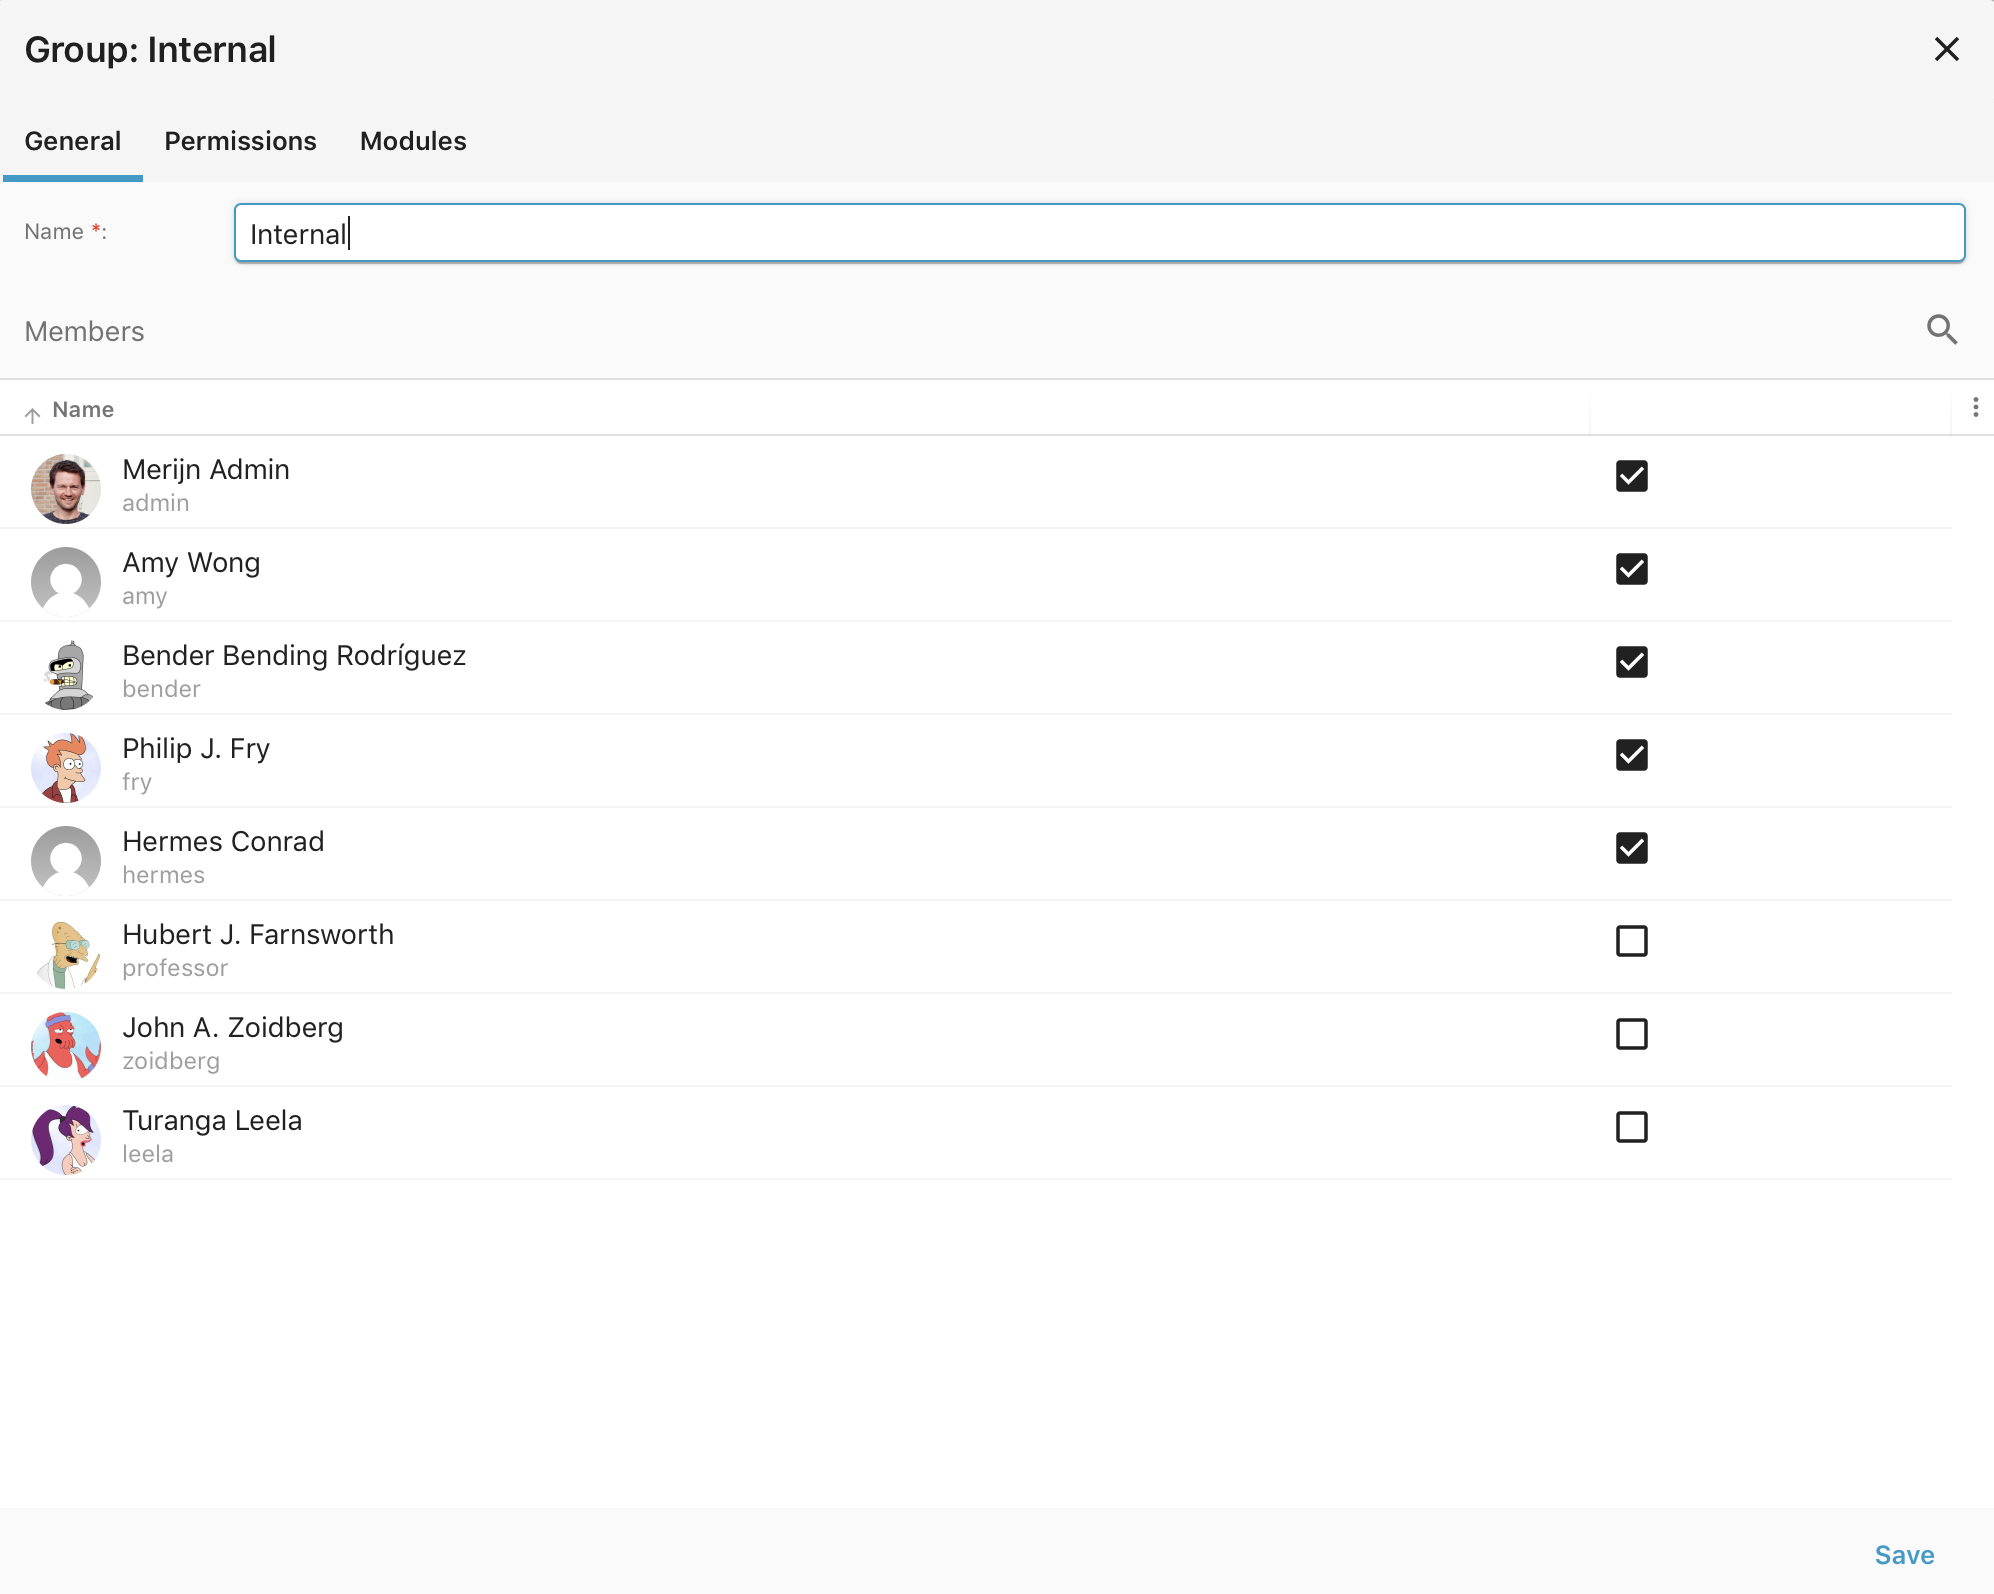
System settings - Group members
Permissions
Here you can manage who can use (for sharing) / edit this group. By default only the group members can use the group for sharing.
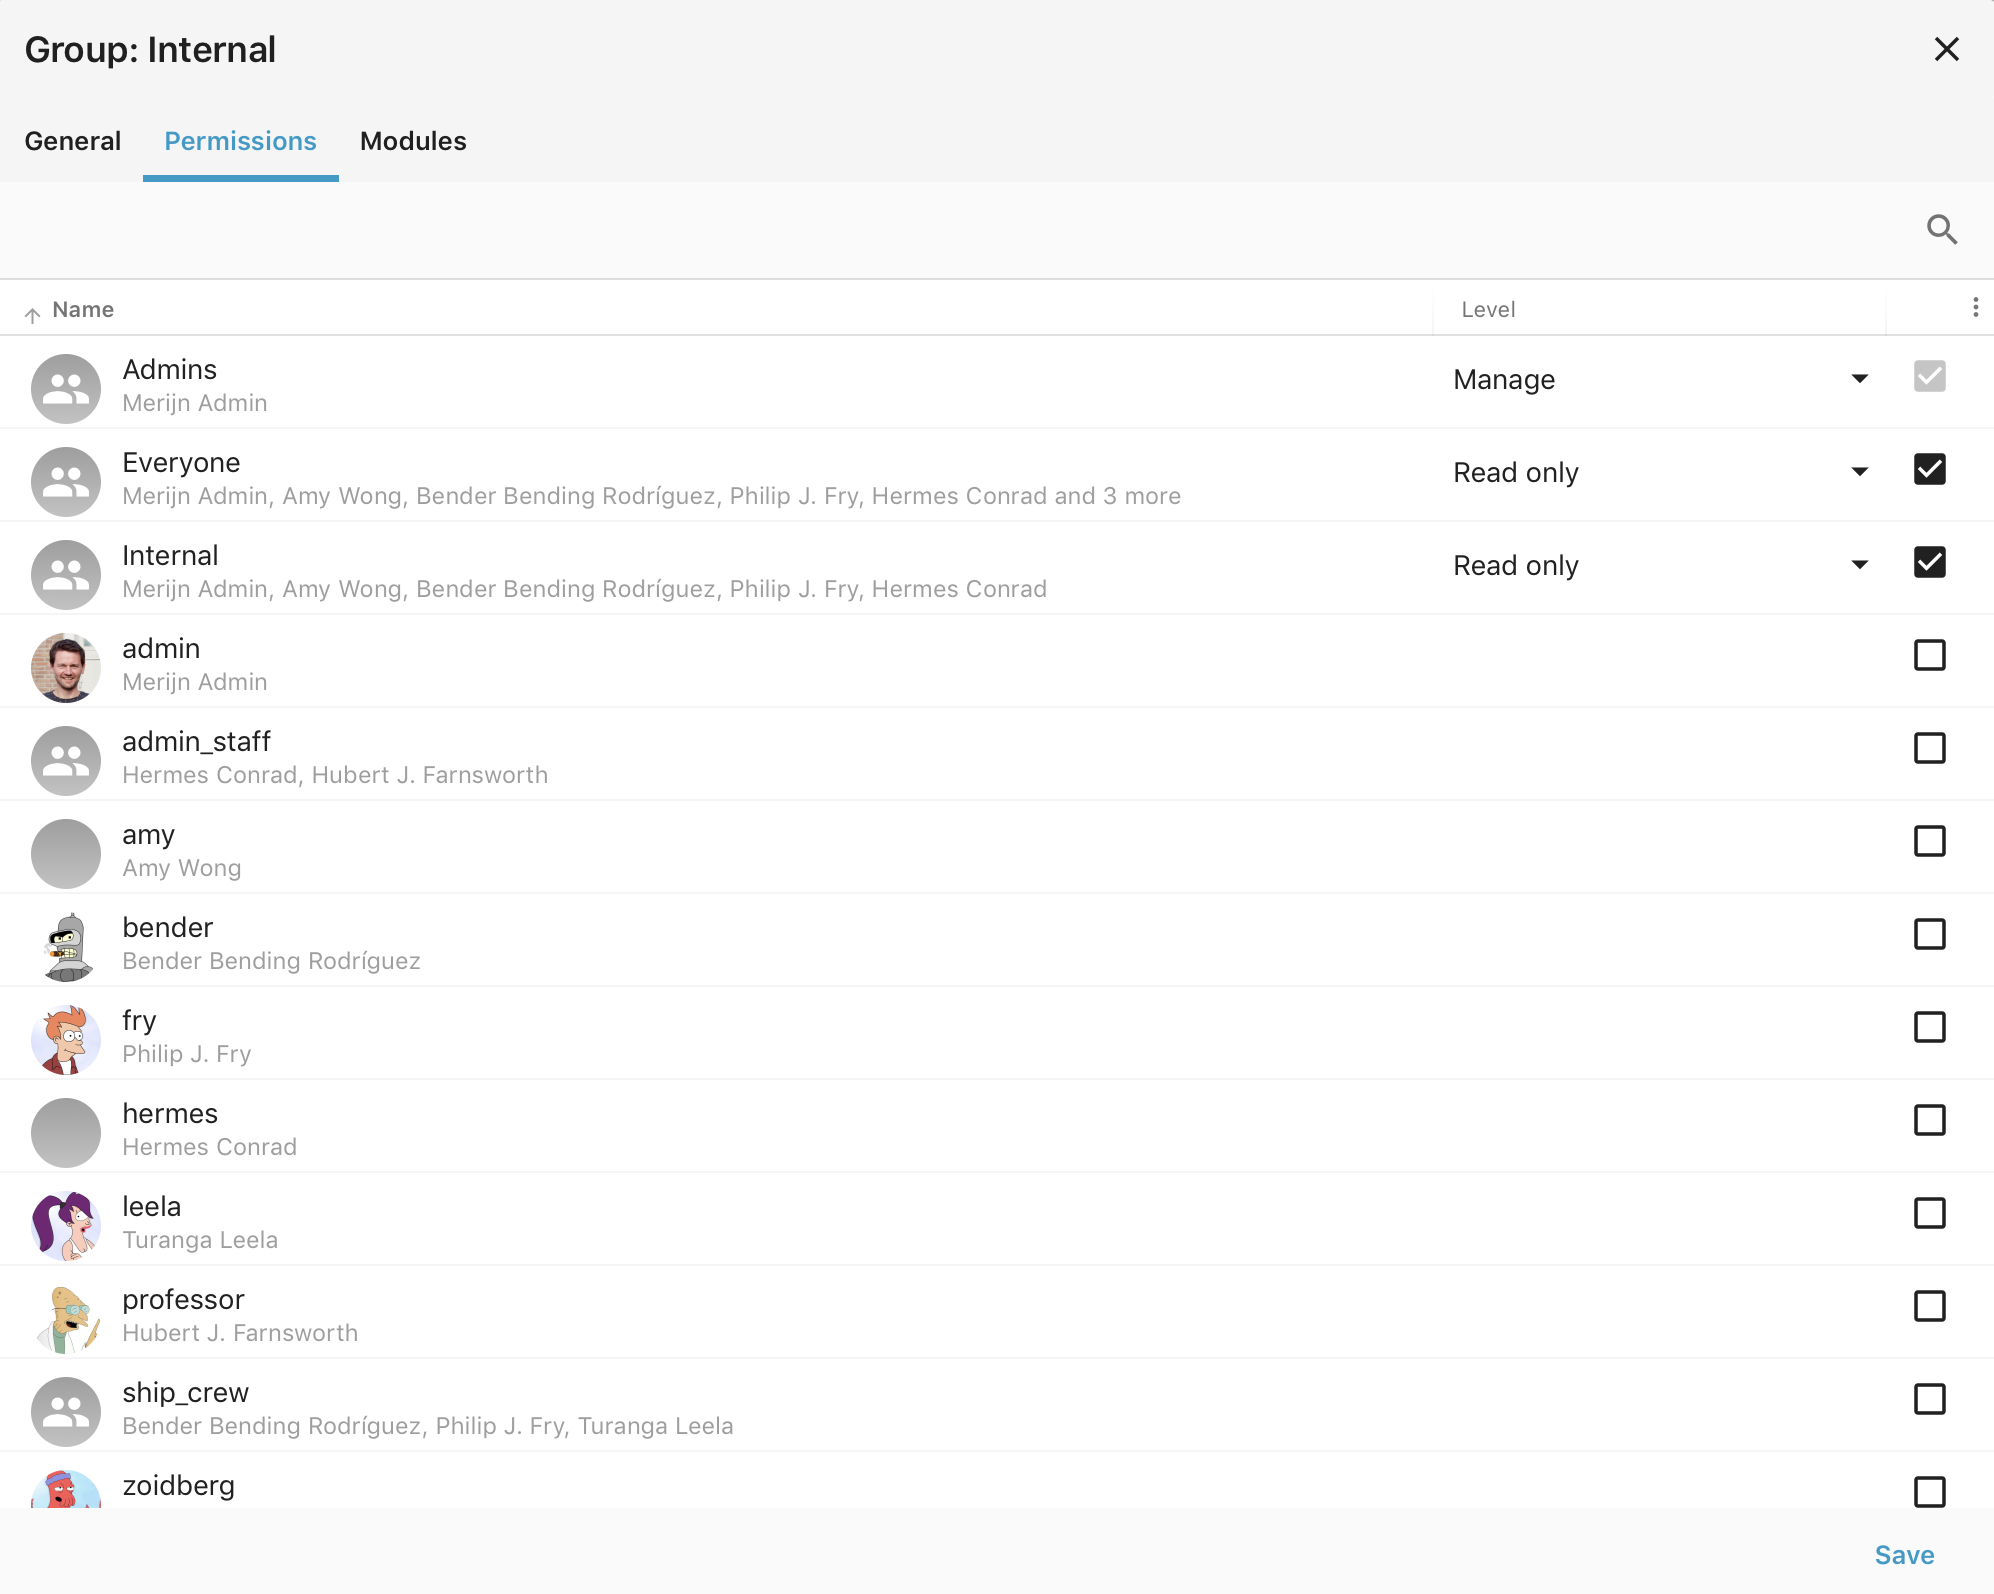
System settings - Group permissions
Modules
Here you can manage which modules are available to group members. Alternatively you can also manage this at the modules page.
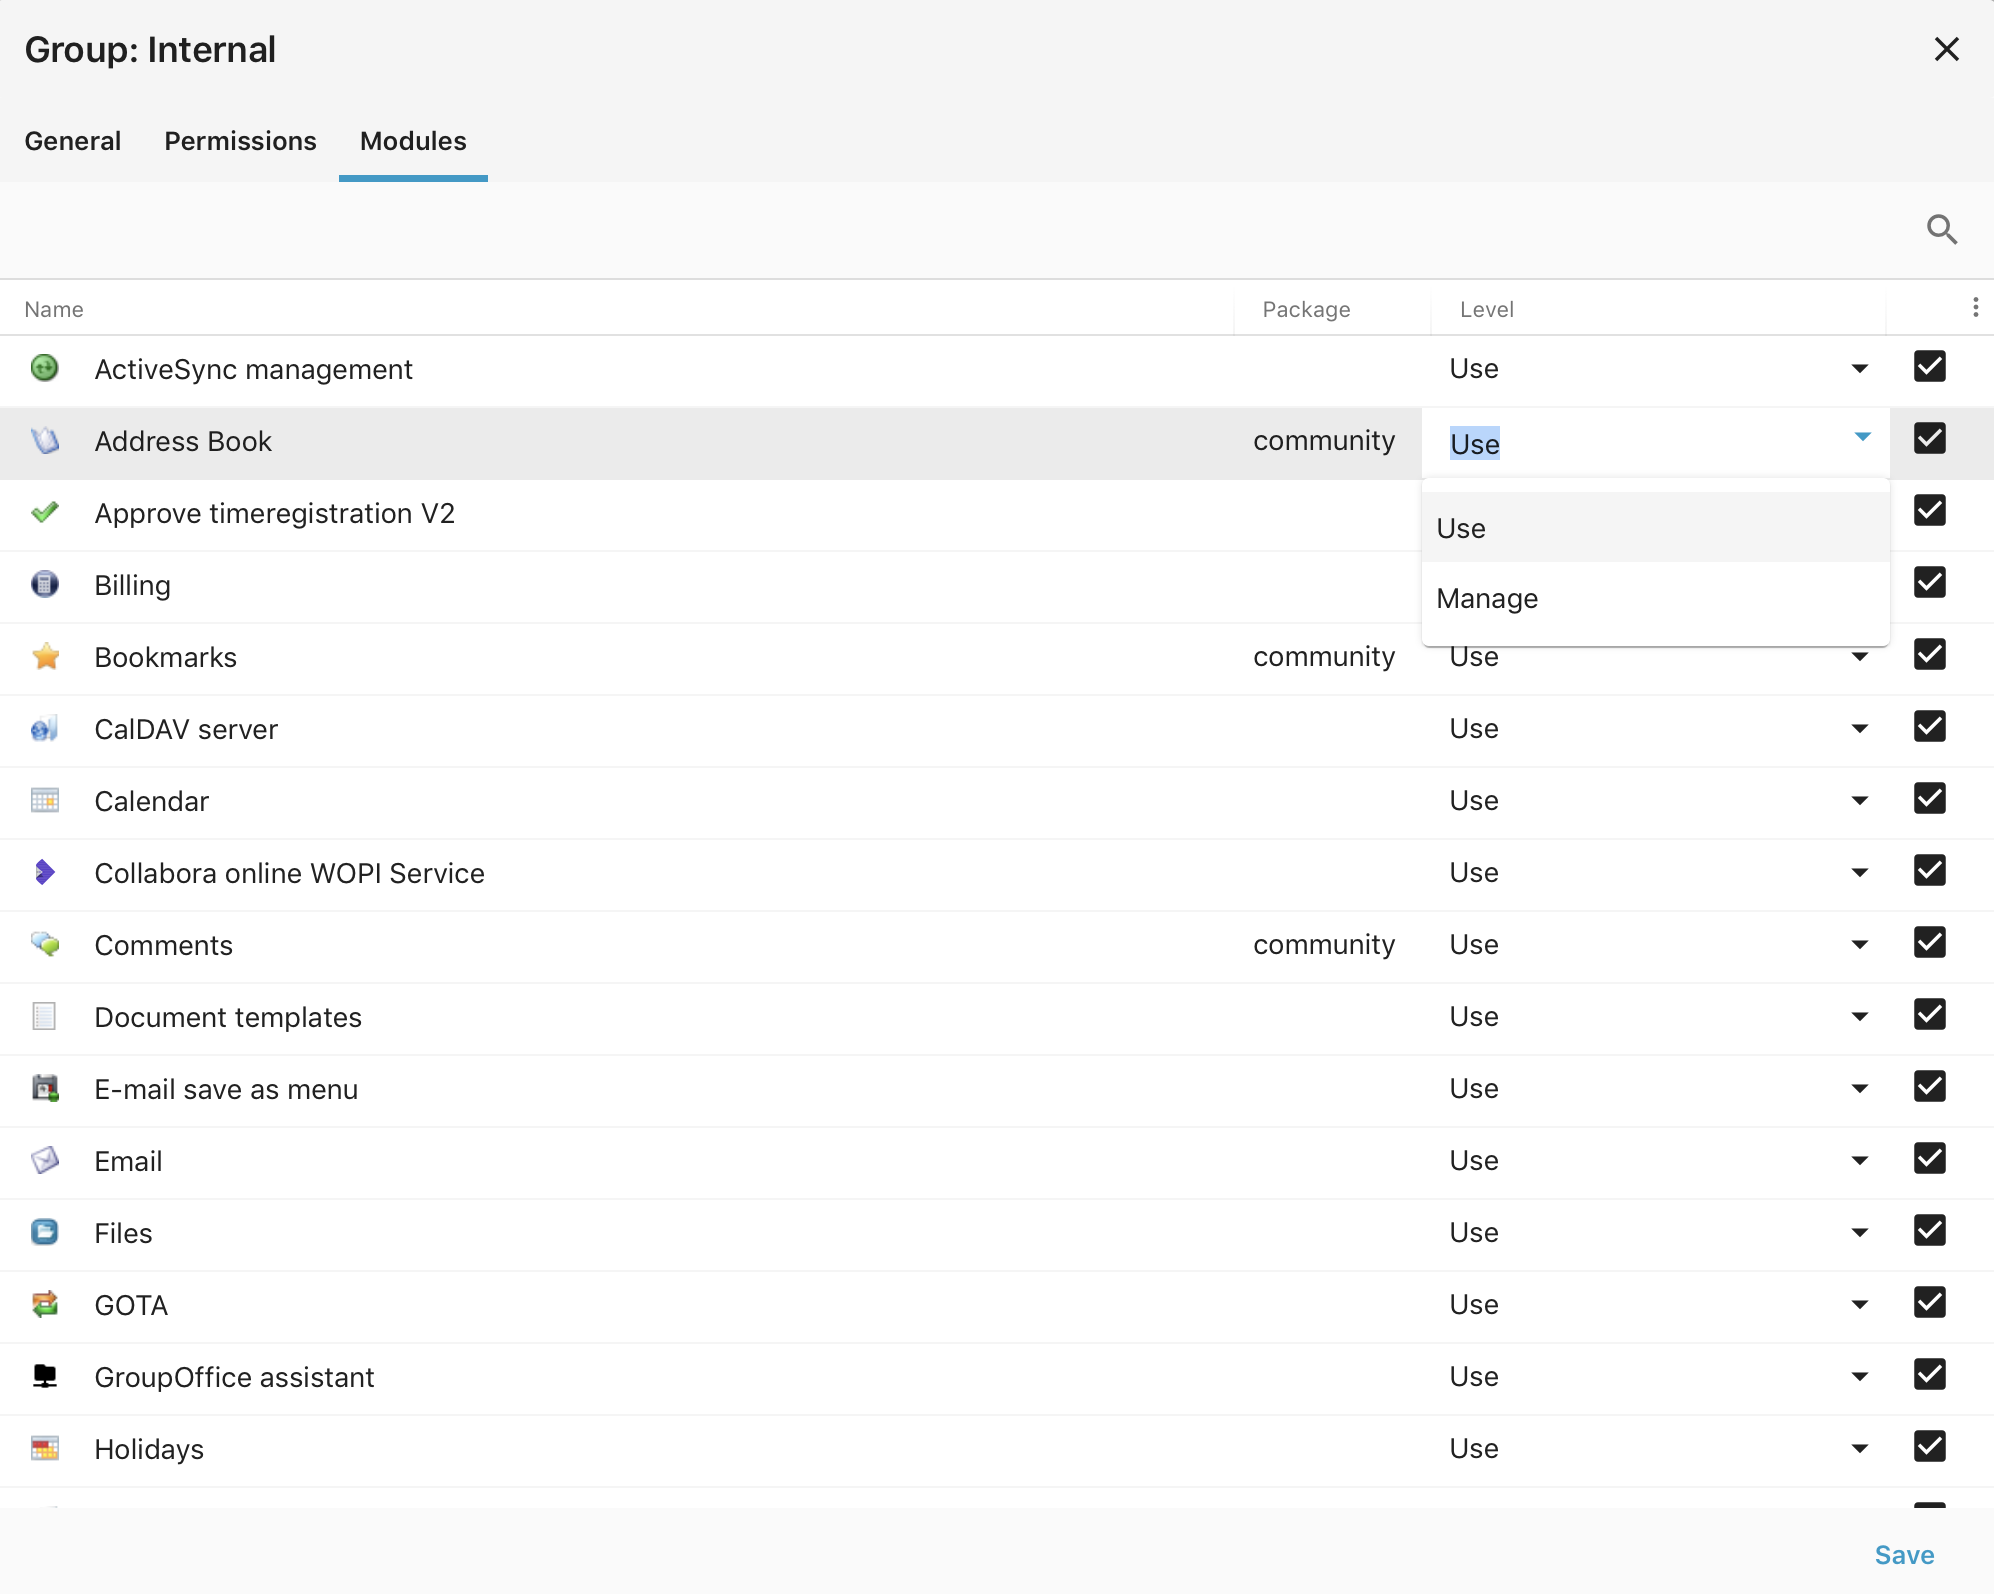
System settings - Group modules
Group defaults
Here you can configure which groups can use new groups by default. Only members of these groups will be able to share items with users and user groups they are not member of. This default to “Everyone” so everyone can see all users and all groups. This might be a problem for larger organizations.
There’s also an “Apply to all” button to apply the changes to all existing groups.
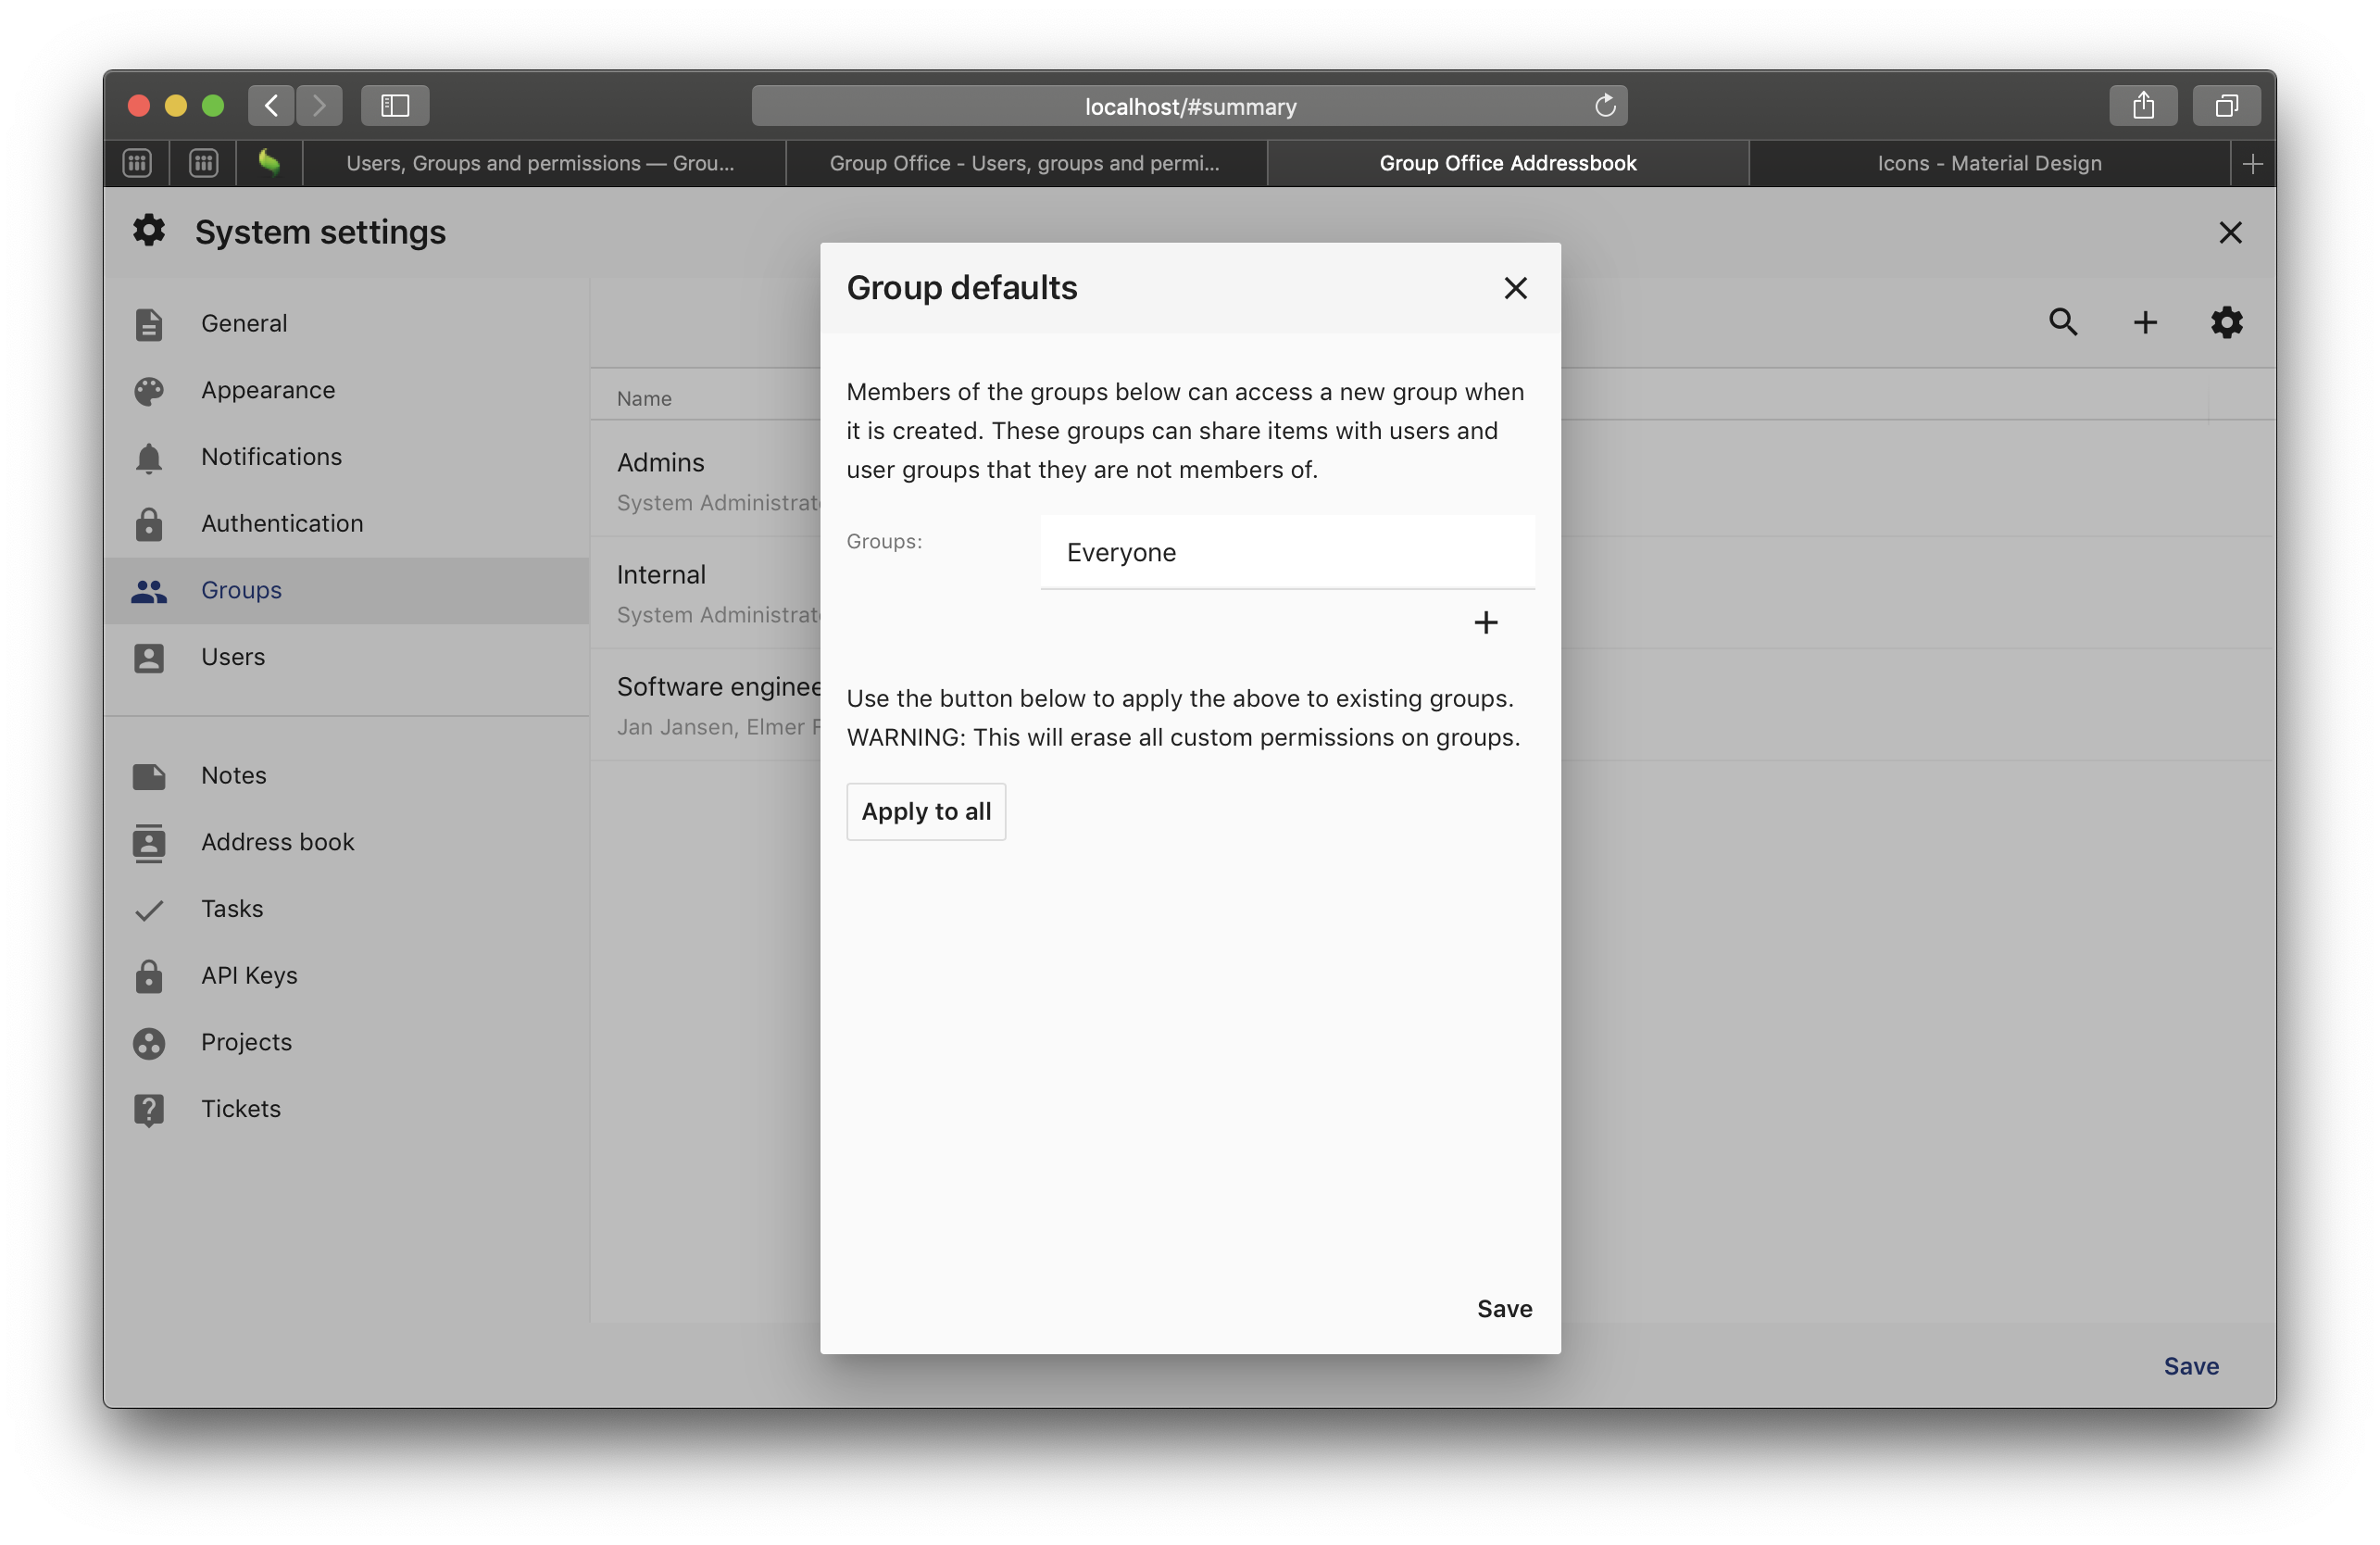
System settings - Group defaults